|
I'll be posting some random thoughts here about my photography: my travel plans, technical information behind some images, stories about how certain pictures were captured, etc. The timing of the postings will also be random as my priority is capturing new images rather than writing about existing ones. I hope you will feel free to comment on any of my postings and I appreciate you taking time to read my entries.

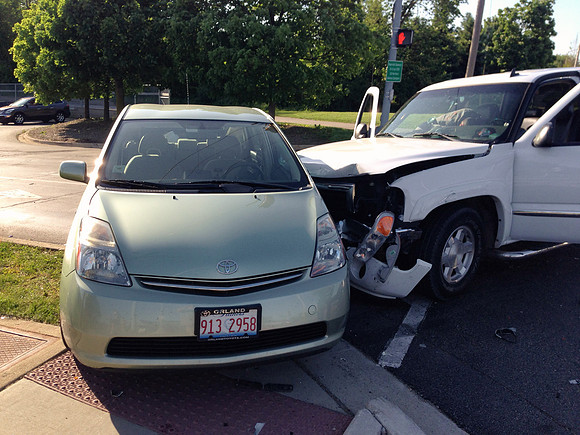
Prius Camping on PauseMy plans for a summer photo trip to Southern Utah once again included several nights of "Prius Camping." Prius camping makes it easy for me to get close to remote locations for sunrise and sunset photo shoots without having to make long drives to and from the nearest town. It also provides me with great flexibility--as lodging reservations are never necessary. It's far more convenient than tent camping as well as I don't have any set up or take down--which is most convenient in bad weather. Unfortunately, my plans for Prius camping for this upcoming trip are now in jeopardy. Fortunately, I am still alive to make the trip! Last weekend, I was coaching my 13U travel baseball team at a sports complex in Naperville, Illinois. As I was leaving the park after the game, I was stopped at the light waiting for the signal to turn green so that I could turn right on Washington Street--a street with a speed limit of 45 mph and a lot of traffic flowing at 45-55 mph. Suddenly, the driver of a car driving northbound on Washington Street (to my right), made a fast move into oncoming traffic as he entered the intersection. Witnesses later reported that this driver had been driving recklessly for the past mile or so. As he entered the intersection, witnesses say that he passed a car that was waiting to make a left into the park--and passed on the left of the car into oncoming traffic. As a result, the car was proceeding head on into a GMC Sierra truck as the truck was approaching the intersection. All I saw was the blur of the car from my right moving into the intersection. My immediate thought was that he was making a left turn into the park going at nearly 50 mph! The truck driver then slammed on his brakes in an attempt to avoid a head on collision. I heard the screeching of the brakes and sat there helplessly as this big truck was sliding toward me. I moved as far over to the passenger side of the car as possible and braced for impact. Due to the very fast reactions of the truck driver (who drives a semi truck for a living), he was able to slow the vehicle down from 45 mph to about 20-25 mph before slamming into the passenger side of my Prius. The Prius absorbed much of the impact while it was pushed up and over the curb and into the parkway.
Everything slowed down for me during those few seconds. It felt more like 5 minutes while I heard the screeching of the brakes, smelled the burning of the rubber of the tires, heard the air bags open up and felt the initial impact of the truck against my car. I expected the truck to keep moving all the way through my car--and was surprised to feel my car stop moving and find myself able to walk away from the accident. The paramedic on the scene told me that he didn't expect a good outcome for me when he saw the position of the vehicles while he was approaching the scene. In any event, the situation turned from life threatening to just a major hassle. My car was towed away and is still sitting in a Naperville municipal lot (at $75 per day storage fees) until an insurance adjuster inspects the car. I'm being told that the car will most likely be totaled. In the meantime, I'm renting a car (another daily cost). And, I will probably purchase a new vehicle (a Prius, of course) in the next week or so. The blue book value of my Prius is nowhere near the real value to me. Despite its 9 years and 175k miles, the car is in excellent condition and would easily last another 2-3 years and 75k miles. Yet, I'll probably be compensated only to the extent of about $3,500. The good news is that the driver of the car that caused the accident will most likely be held accountable for all of the damages (to all three vehicles). There are at least four witnesses to his reckless driving and he was the only driver ticketed by police at the scene. The best news is that I get to see, and photograph, more days! "Trees in Fog" Wins Photo of the Day!This morning, my "Trees in Fog" picture won Imaging Resource's "Photo of the Day".
This photograph was captured back in July, 2012 in Grand Teton National Park. I hiked to the top of the Lunch Tree Hill trail behind the Jackson Lake Lodge before sunrise hoping to get a good panoramic photograph of the mountain range. Instead, the entire valley was filled with thick fog. I waited nearly two hours for the fog to lift. The fog never lifted enough for the mountain range to become visible, but the foggy trees consolation image saved the day!
This marks the 19th time in the last 20 months that one of my photographs was recognized by Imaging Resource as its "Photo of the Day". Watch Your BackLast summer, I stopped in Yellowstone National Park for a couple of days while on my way to Pacific Coast from Chicago. Much of my photography took place just after sunrise. I enjoyed capturing images of foggy landscapes. Foggy conditions were common in areas where the hot springs met the cool morning air. The Mud Geyser area is particularly foggy and is located just south of Hayden Valley. Boardwalks make it easy to navigate around the geysers. Early one morning, I captured the following image of the fog (more likely it's steam) from one of the boardwalks:
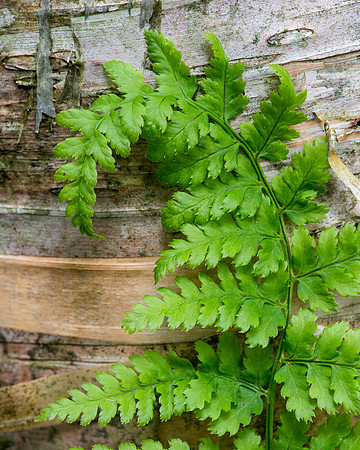
A few minutes later, I was startled to see a massive bison standing too short of a distance behind me. I think he was attracted to the warm temperature of the Mud Geyser area. It was scary to be standing there alone with nothing between me and a large wild animal. Fortunately, the bison was content to continue grazing and paid little attention to me. I slowly backed my way out of the area. In Yellowstone National Park, you must always watch your back. I recently viewed photographs of grizzly bears walking along the boardwalks just a few hundred yards away from the Old Faithful Inn! Circular Polarizer in MacroMost landscape photographers consider a circular polarizer to be an indispensable tool for darkening skies, removing reflections from water, removing glare from foliage and enhancing the saturation of colors. I always carry a circular polarizer with me and use if quite often when shooting landscapes. Recently, I participated in a macro photography workshop in the Adirondack Mountains with Steve Gettle. One of the things that I learned is how useful a circular polarizer can be when capturing macro images of foliage. The polarizer helps to remove the sheen from the leaves which deepens the contrast and color. Nearly all of my lenses have a 77mm filter thread. Given the expense of a circular polarizer, I keep just one in my bag and transfer it from one lens to another as needed. The problem that I faced during the workshop is that my 105VR macro lens has a 62mm filter thread. So, for the time being I had to manually hold the filter over the lens--which is far from ideal. I was faced with two choices to solve the problem. I could purchase a circular polarizer with a 62mm filter thread for my macro lens at a cost exceeding $100. Or, I could buy a 62-77mm step up ring to enable me to use my 77mm filter with my 105VR lens. I opted to go with the step up ring, but ordered it through eBay for less than $5. Here's one of the images that I captured from the workshop using the 105VR with a circular polarizer. Next time, I'll have to remember to keep the photograph without the filter--as the difference in contrast and color is quite significant.
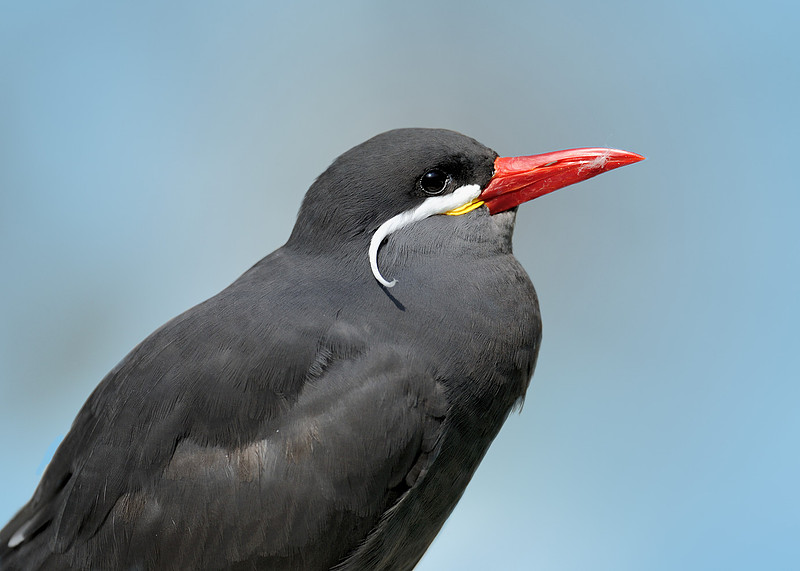
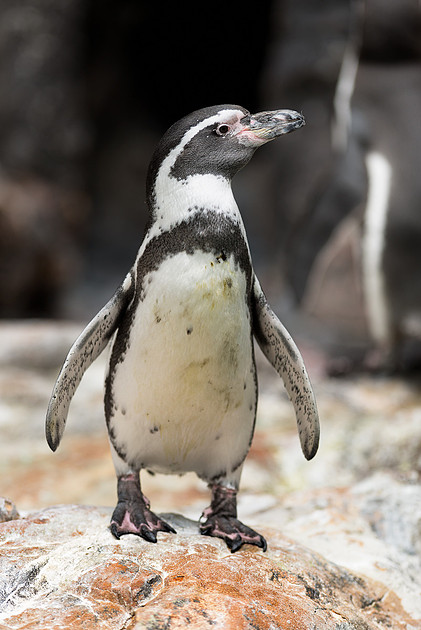
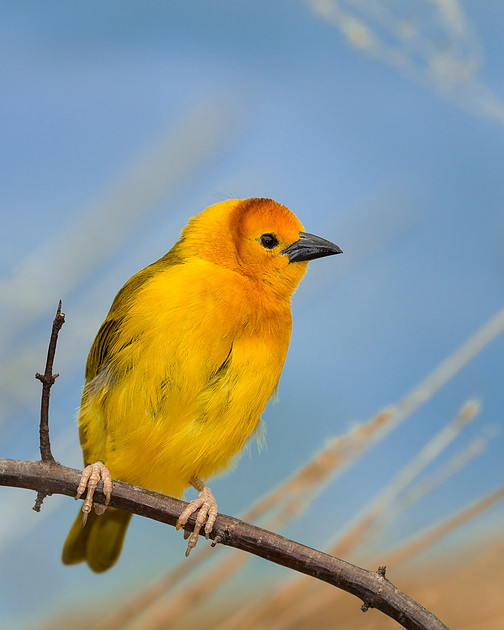
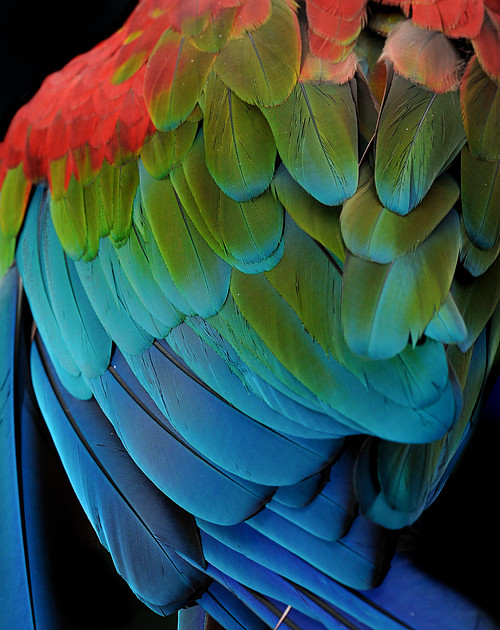
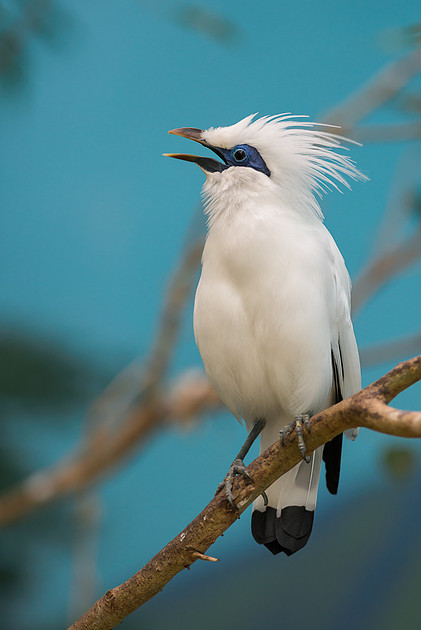
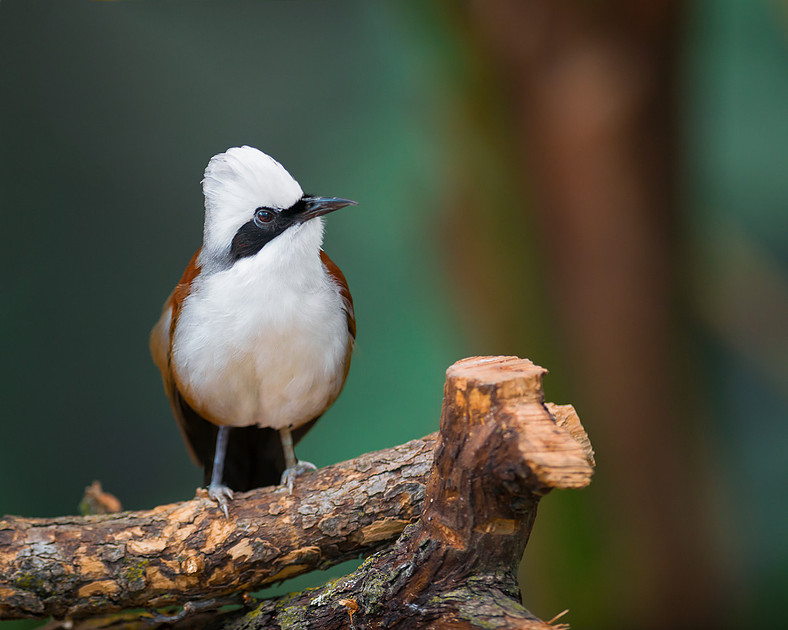
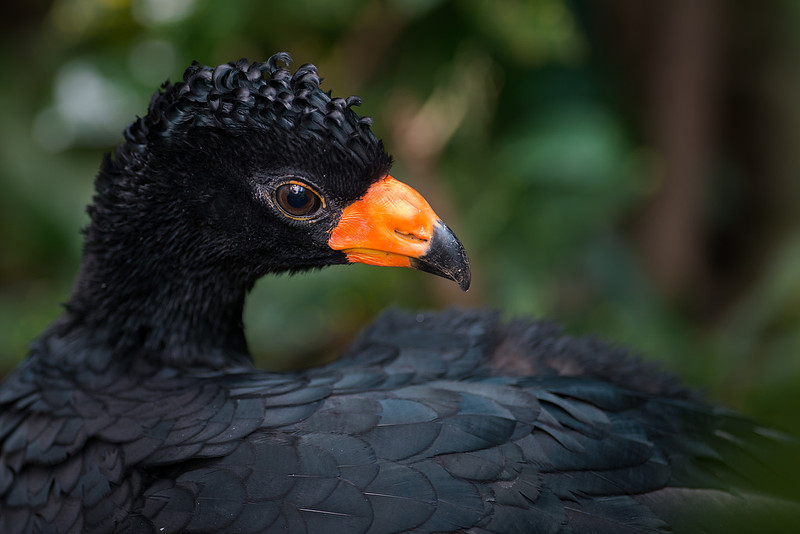
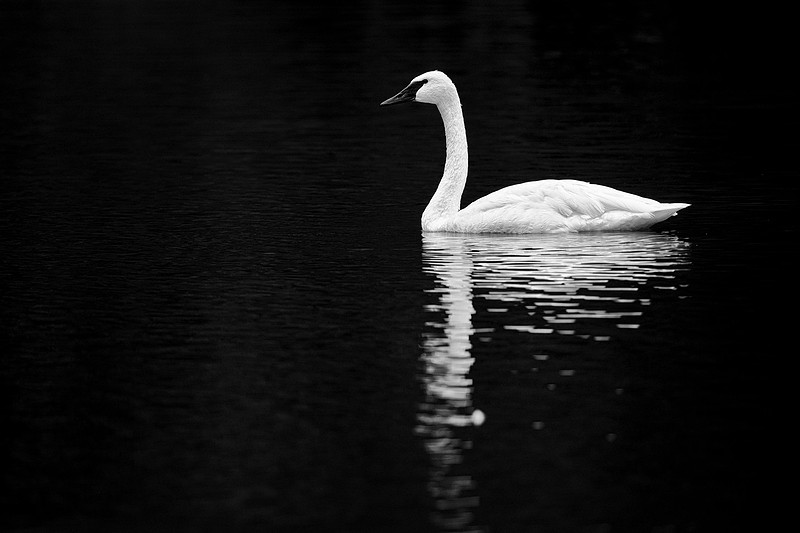
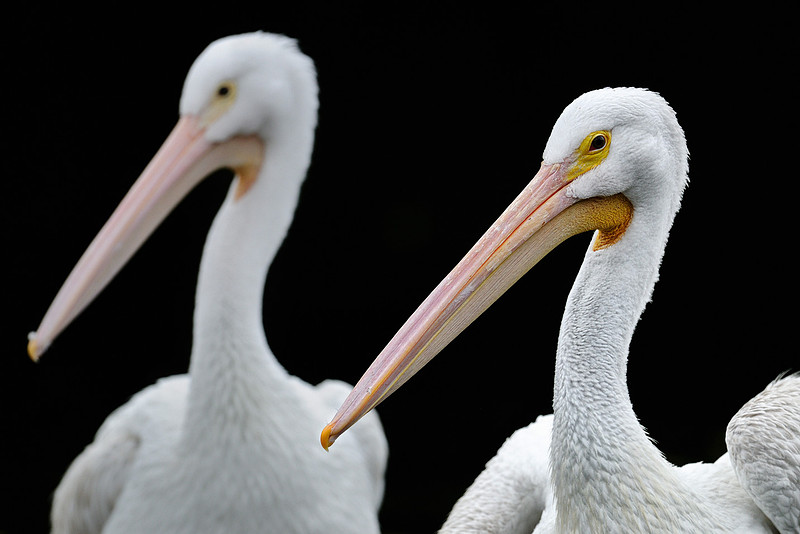
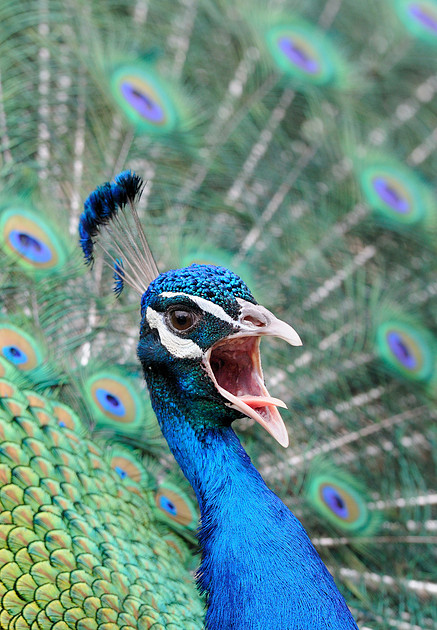
Free to Fly in CaptivityThere are some "free fly" exhibits within the Brookfield Zoo. These exhibits offer excellent opportunities to photograph birds. Obviously, the birds are much easier to locate than in the wild. Yet, nothing separates the birds from the photographer and the birds assume many natural behaviors. Following are a few of the "free fly" exhibits that I have visited at the zoo: The Living Coast
Inca Tern
Chirping Gull
Humboldt Penguin Habitat Africa! The Savannah
Taveta Golden Weaver Reptiles and Birds House
Green Winged Macaw
Bali Mynah
White-Crested Laughing Thrush
Black Curassow Indian Lake
White Trumpeter Swan Formal Pool
American White Pelican General Grounds
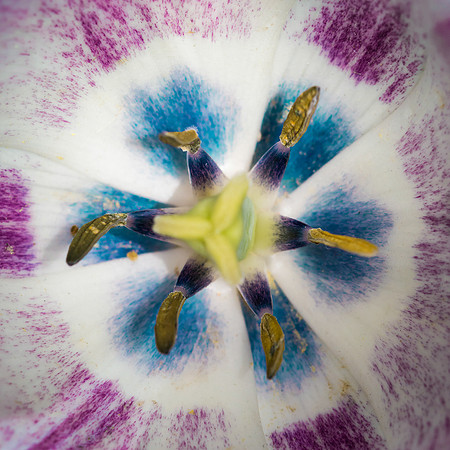
Peacock Pop the ColorsMy Nikon 200 f4 Micro lens got a workout during my visit to the Chicago Botanic Garden earlier this week! I captured several macro images while walking around the grounds for a couple of hours. To view nine of the photographs from that session, please click here. One of the pictures that appealed to me was of the inside of a tulip. I faced several challenges in attempting to capture the picture.
After addressing some of those challenges, I wasn't pleased with the image as viewed from the screen on the back of my camera. The colors were rather dull. So, I grabbed a flash unit out of my camera bag and set the unit to trigger remotely. I handheld the flash unit behind the flower so that the petals could be backlit. By adding some light through the petals, the colors began to pop!
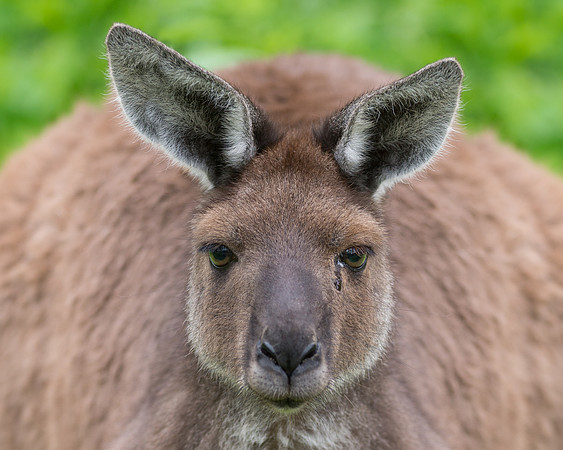
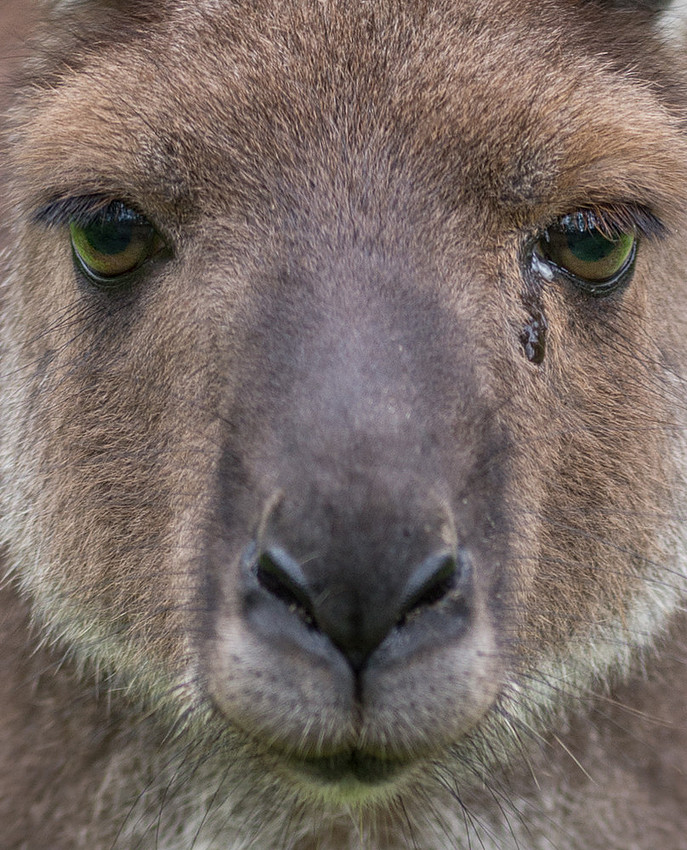
From Eyes to NoseWhen capturing portraits of animals, I focus on the eyes. Viewers tend to lock in on the eyes first, so it's important that the eyes are in sharp focus. Then, I usually strive to select an aperture that will provide enough depth of field so that the nose is sharp as well. However, it's a balancing act with the aperture selection. Although I usually want the nose to be in focus, I also tend to prefer a soft background. Last week, I visited the kangaroo exhibit at the Brookfield Zoo. While capturing this closeup portrait, I selected the widest aperture on my 300mm lens (f/2.8). This kangaroo is a small animal (no more than 4 feet tall) and he was positioned about 30 feet from me. So, I figured that the depth of field would certainly be wide enough to get both the eyes and the nose in focus. I was wrong!
I checked the display on the back of my camera immediately after capturing this image and noticed the problem. I narrowed my aperture to f/5.6 and then to f/7.1. That solved my depth of field problem, but the kangaroo never made eye contact with me again! I found it hard to believe that the depth of field wasn't adequate to get both the eyes and nose of this kangaroo in focus. He's such a small animal and he was positioned a good distance from the lens. But, I failed to account for two factors:
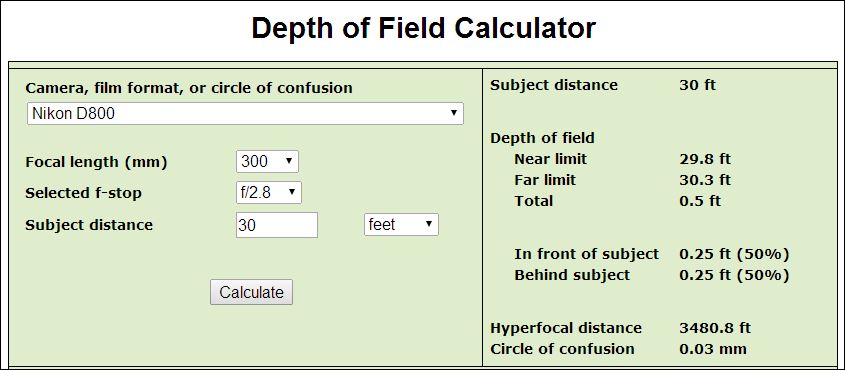
To check the depth of field, I referred to an online depth of field calculator. I also have a DOF calculator on my phone. I should have used it! After entering in the various factors (i.e., camera, lens, aperture, distance), the calculator does in fact confirm the very narrow depth of field for acceptable focus--0.25 feet, or only 3 inches of depth!
But, it's always good to keep shooting. The more I shoot, the more issues like this come to light and stay top of mind. So, the next time I shoot in a similar situation, perhaps a family pet, I don't plan on making the same mistake again. "Adobe Mission" Wins Photo of the Day!Last week, my "Adobe Mission" picture won Imaging Resource's "Photo of the Day".
This photograph was captured back in December, 2012. This photo is somewhat unique in that it was taken from the back of the San Francisco de Asis Mission Church in Ranchos de Taos, New Mexico. It's no wonder that the back of the church faces the street!
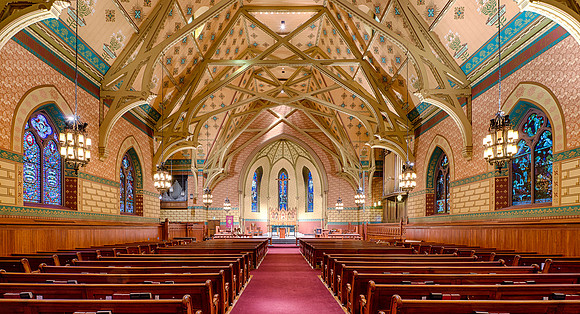
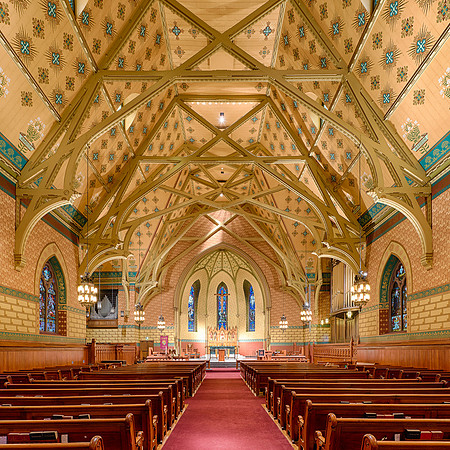
This marks the 18th time in the last 19 months that one of my photographs was recognized by Imaging Resource as its "Photo of the Day". You Have Five Minutes...Or Maybe Just Two!As I approached the main entrance to the Saint James Cathedral (located just off the Magnificent Mile in Chicago), I noticed a sign that indicated the interior of the church could be accessed through the Visitor Center at the back of the church. That sounded promising, so I worked my way around the building. I asked if it would be OK for me to enter the church. I was told that I could photograph the interior of the church for no longer than five minutes! Given how quickly I can set things up, I figured that should be enough time to capture a couple of decent images of the building. However, I didn't count on having five people standing in front of my camera while discussing the logistics of an upcoming wedding. Fortunately, the scene cleared within about three minutes. I was able to capture a couple of photographs after the two minute warning!
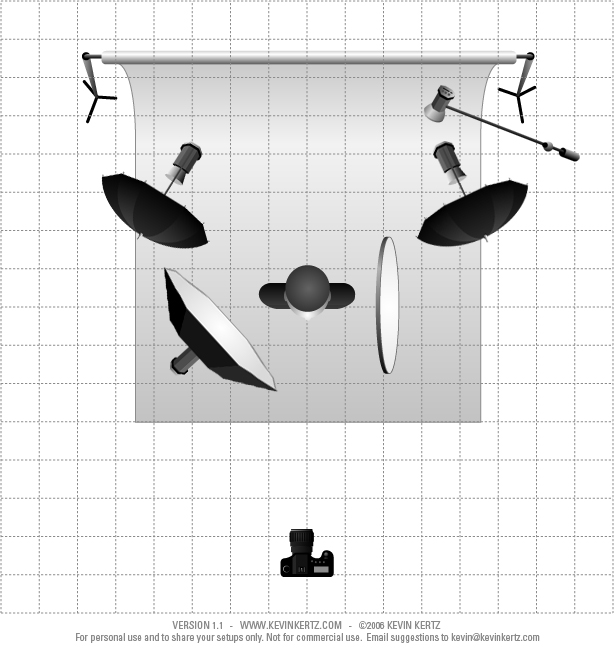
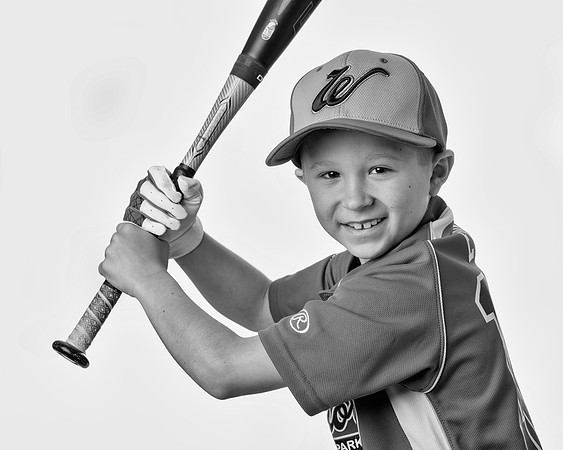
I'm not sure why I wasn't permitted more time in the church--especially considering that I was the only one in the building once the five others left. But, I was appreciative to get five (or rather two) minutes rather than nothing! Baseball PortraitsIt's not very often that I photograph people. Although I own some nice lighting equipment, I don't use it as often as I would like. However, at least once a year I break out the studio lighting gear to capture portraits of youth baseball players. This year, I volunteered to capture pictures of the youngest travel baseball team in our organization. I wasn't sure what to expect from the 8 year old players. To my surprise, the players were very easy to work with. Nearly every player was comfortable in front of the camera and took direction well. They were also able to produce a natural smile "on demand"! It was fun interacting with the players. It had been almost a year since I used my lighting equipment. But, the Einstein strobes are very intuitive to work with. It took me just ten minutes or so to get the strobes in position and calibrated. Following is the lighting setup that I used for the session:
The Nikon SB-900 was set to SU-4 mode so that it would automatically fire anytime the other stobes were activated. I set that strobe on manual at 1/16th power. Here are a few images from the session:
To view more photographs, please CLICK HERE. |