
Basketball: Using Strobes in Dimly Lit Gymnasiums

It's been a while since I've used flash units while shooting basketball. But, I get a lot of questions from photographers about how I lit some of the basketball images from grammar school gymnasiums.
Usually, I use either two or three small Nikon flash units to light the action:
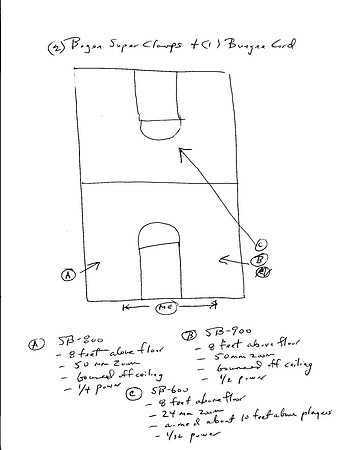
- One unit (SB-900) is placed on the camera and bounced into the ceiling. It is used as the Master unit and triggers the other remote unit(s). I usually set the flash on Manual at about 1/4 power and set the flash head at a 50mm zoom. Sometimes, I use the much smaller and lighter SU-800 to trigger the other strobes in the gym. The SU-800 also then frees up my SB-900 flash unit to be used off-camera.
- A second unit (SB-800) is placed on the left side of the court just off the baseline. It is also set at 1/4 power and bounced into the ceiling at a 50mm zoom.
- Sometimes, I'll also use a third unit (SB-600). It is placed on the right side of the court just off the baseline. The power is set at 1/8th and positioned to feather the light across the court. The idea behind this third flash is to add a little more depth and pop to the shots as otherwise they may appear to be a little flat with just bounced light.
Obviously, two or three pocket sized flash units will not provide sufficient power to light an entire gymnasium. So, I use the ambient light to the extent possible and let the flash units supplement the existing light. My first step is to set a manual exposure in the camera that will underexpose the scene by approximately two stops. So, if a good exposure without any flash requires ISO 3200 at 1/250th at f/2.8, I will adjust the ISO setting down to 800--which effectively underexposes the image by two stops. Then, I add flash. I adjust the flash power manually until it properly exposes the subject. Typically, this requires a power setting of 1/4. Sometimes, it requires more power (1/2); sometimes, it requires less power (1/8). With digital, just check the LCD panel and histogram on the back of the camera and adjust accordingly.
A typical exposure with flash ends up being 1/250th at f/2.8 at ISO 800. Without the flash units, the ISO would have been 3200 with the same shutter speed and aperture. More importantly, without flash, it takes a faster shutter speed (probably more like 1/1000th) to freeze the action. Please CLICK HERE to read my earlier blog entry about how flash can be helpful in freezing action at very slow shutter speeds.
White balance can be a challenge in such venues. I usually use a WhiBal card and take some readings at various locations around the court. Regardless, the cycling lights can cause the white balance to constantly change. Again, flash provides a huge benefit in dealing with this issue. By using flash, which emits light with a color temperature approximately like daylight, you mitigate most of the white balance issues that exist by relying solely on the cycling tungsten or florescent lighting in the gyms.
The Nikon system makes it relatively easy to trigger remote flash units. I use one of three approaches to accomplish this:
- Position the SB-900 flash unit on camera and program it to act as the Commander to control the remote units
- Position the SU-800 on camera and use it to control and trigger all of the remote flash units
- Place a Radiopopper transmitter on the camera and Radiopopper receivers on the remote flash units. These radio transmitters will trigger the flash units reliably from great distances and do not rely on line of sight.
Here is a diagram of how the flash units are positioned:
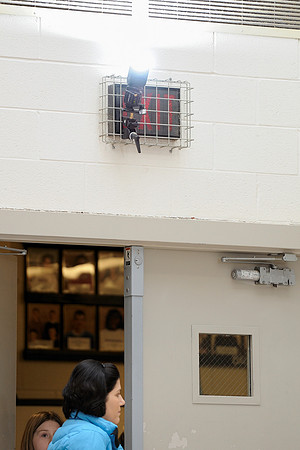
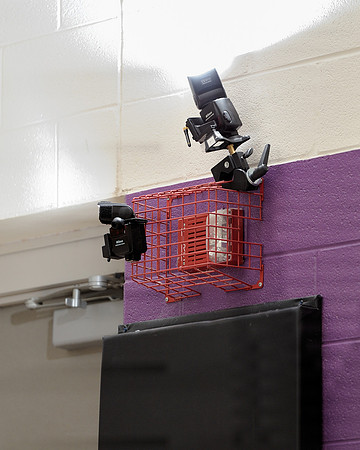
 And, here are some photos of how the flash units are clamped (Bogen Super Clamps) above the floor in the gym:
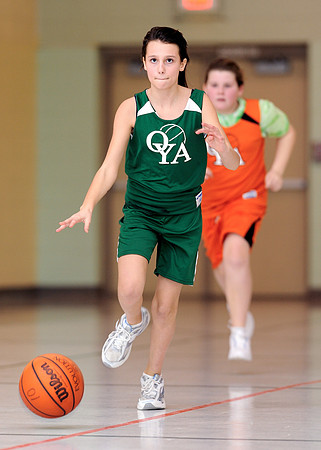
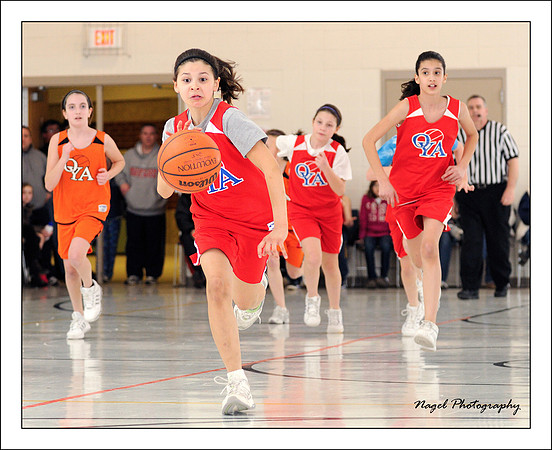
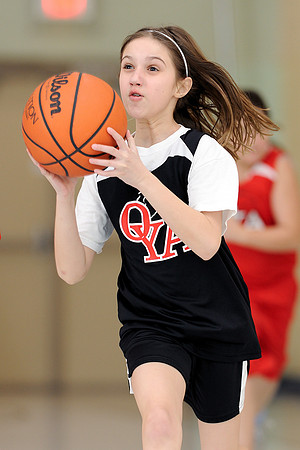
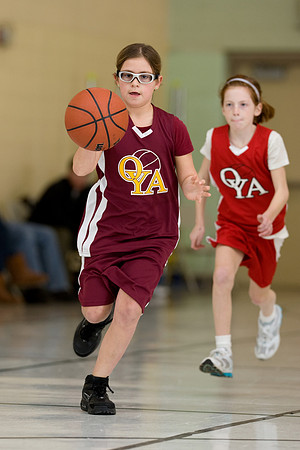
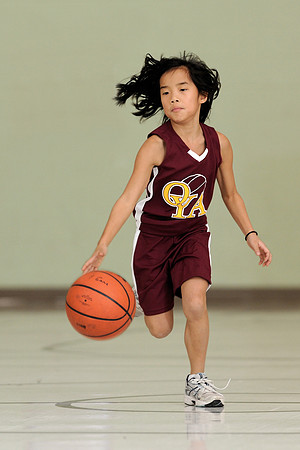
 Here are a few pictures from some very dark grammar school gymnasiums using this approach:

Comments
Anyway, I have found Aperture 3 with the skin tone WB dropper to really do better than ACR 7.3. I have tried all of the camera profiles in LR4, but have been using AP3 more now for getting better WB.
One would think CNX2 would have done right w/the skin tones, but when you are using various light sources, and that light is bouncing off who knows how many different color surfaces, it is nothing less than a challenge to get right.
Those other pixs you show look good. Hmmm... I wonder how an ExpoDisc would have done in this situation? I have it,and haven't used it in a while.
I used a Nikon D700 with the Nikon 200 f/2 for most of these. These were processed using Capture NX2. Since that time, I've been using LR4 and Photoshop CS5 for processing. Apparently, I did not take the time to correct more precisely for skin tone in the first two images. If I had done so, I would have used Photoshop for that task.
I keep a reference which shows the typical ratio of cyan, magenta and yellow for average caucasian skin. I first take a reading of the actual values on the skin in the photograph. Then, I adjust the color curve for each channel to adjust the skin color to the exact ratio of typical caucasian skin. From there, I can either warm or cool the color to taste. Clearly, I did not go through these steps for the first two images and they contain a bit too much of a magenta cast.
I think I have an idea for another blog thread--how to correct for skin color in those first two pictures!
Thanks,
Glenn
IMO the first couple of pics the skin tones are too pink. Its not easy getting right with mixed lighting. I have found, a different lens with nano coating makes a diff, and not using Auto ISO. I like Aperture for solving some of these issues, but then a camera calibration profile via Colorchecker Passport will sometimes help.