|
I'll be posting some random thoughts here about my photography: my travel plans, technical information behind some images, stories about how certain pictures were captured, etc. The timing of the postings will also be random as my priority is capturing new images rather than writing about existing ones. I hope you will feel free to comment on any of my postings and I appreciate you taking time to read my entries.

Tripod AlternativesA tripod is an essential tool for my photography. A tripod helps me in the following ways:
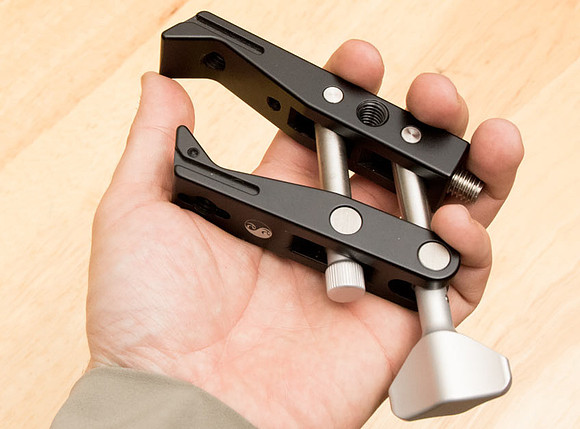
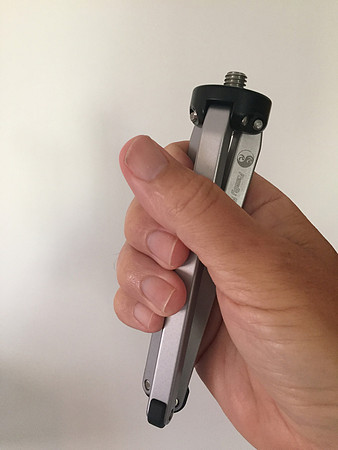
The tripod is so important to my photography that I won't bother shooting certain interiors when a tripod is prohibited. The problem is that tripod restrictions are becoming stricter each year. Over the past year, I've been told that photography with a tripod is banned not only in certain interiors, but also when photographing exteriors. Last year, I was informed that tripods were prohibited anywhere on the Harvard campus! As I prepare for my upcoming road trip to California, I purchased two tripod alternative items which come highly recommended and which are supposedly effective at stabilizing the camera: The first is the Multi-Clamp from Really Right Stuff. This clamp will attach to a variety of surfaces--tables, chairs, railings, doors, etc. In my testing, it easily locks down my gripped Nikon D800 with Nikon 24-70 2.8 lens. My Markins M-10 ballhead quickly screws into the clamp to provide a quick release option to the clamp. The advantage is that this small item is definitely not a tripod--so unless security tells me "no clamps" I should be good to go!
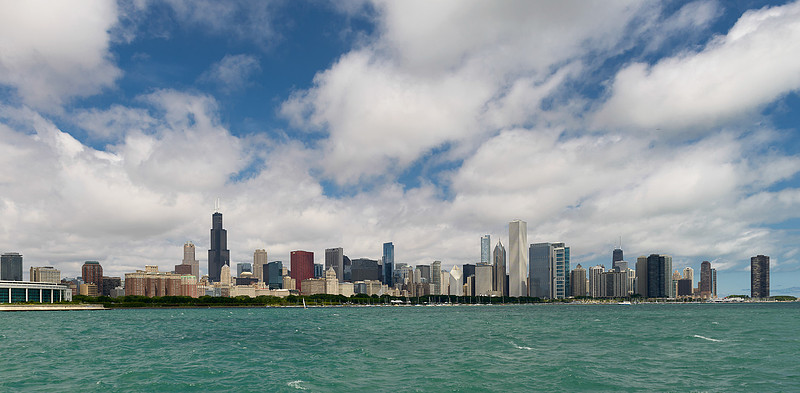
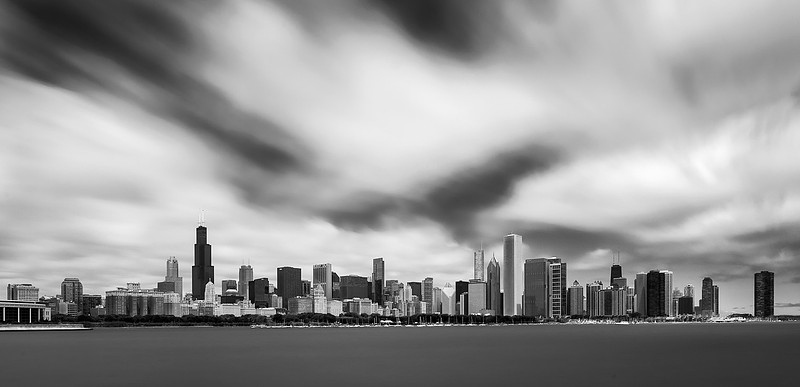
Blending Exposure TimesLast week, I captured some pictures of the Chicago skyline from the Adler Planetarium. This is an iconic scene that's been photographed an endless number of times. My goal was to create something a little different. So, I blended three pictures--all of which were taken at different shutter speeds. My first picture was taken using conventional settings for this sunny day: shutter speed of 1/500th of a second, f/8, ISO 100
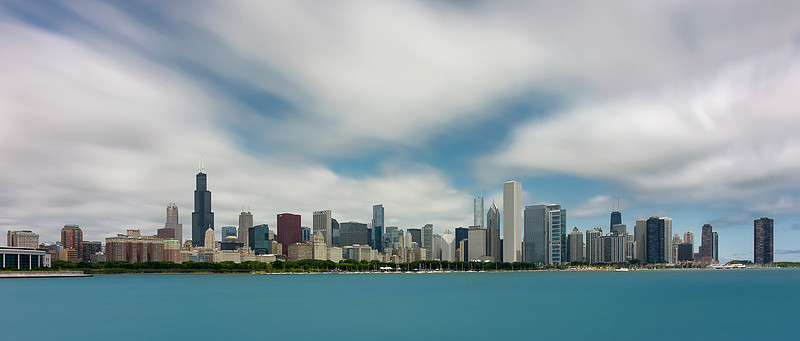
This next picture combines three frames using various shutter speeds. For the boats in the harbor (which are quite small in the frame), I used the above picture at the 1/500th shutter speed. Then, I slowed the shutter speed to 45 seconds to allow enough time for the clouds to blow across the frame. Finally, I selected a 5 minute shutter speed to completely smooth out the water in the lake. Here's the combined result:
I was able to achieve such a long exposure (5 minutes) on a bright summer day by using a very strong neutral density filter. In this case, I attached a 16 stop ND filter to my Nikon 24-70 2.8 lens. I hope to experiment with similar techniques during my upcoming trip to Mono Lake in California. A Simple ArchDuring my photography trip to St. Louis, I hoped to capture some images of the Gateway Arch. To my surprise, the area around the Arch is under construction for the next two years. I learned this the hard way when I was set up for a twilight picture of the Arch. I waited for the Arch to light up only to see it slowly disappear into the night sky. The Arch wasn't illuminated that night--and I'm assuming it won't be lit until the construction is completed in 2017. Although the area is under construction, I still captured some interesting images of this iconic structure. The following image could probably only be captured during this construction time. Ordinarily, this park would be packed with people. That night, there wasn't a single person on the lawn. The park is fenced off for the construction with just one opening to access the park from the north. And, the bulldozers and other heavy construction equipment aren't visible as they are positioned over the hill from where I was standing.
Wall DrugWhen driving through South Dakota, you can't hardly miss seeing the billboards for Wall Drug. The billboards can be found for hundreds of miles on a stretch of Interstate 90 from Minnesota to Montana. Most years, I drive past Wall, South Dakota without stopping. I gathered that Wall Drug is a major tourist trap and wanted no part of it. During my last road trip through South Dakota, I stayed in Wall for two nights. Wall is a convenient place to stay when visiting nearby Badlands National Park. My motel was just a short walk from Wall Drug. One afternoon when the light was particularly harsh, I visited Wall Drug. I brought my camera in case there was anything interesting to photograph inside the store. My visit to Wall Drug was worthwhile for a few reasons. To my surprise, I was permitted to photograph the interior with my tripod. The complex is massive and includes far more than just a drug store. And, I practically had the place to myself as it was the off-season. Photographing the interior would be far more challenging during the summer as Wall Drug attracts more than 2 million visitors each year! Here are a few pictures from my visit. My motel was located right next to the granary down the street.
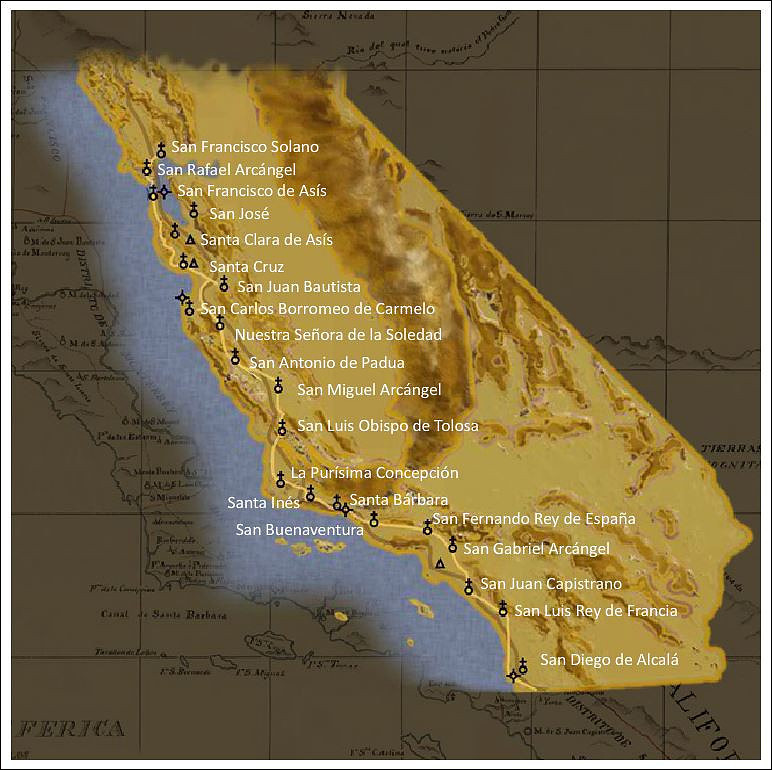
All that being said, it's still a tourist trap! My Longest JourneyNext month, my longest photography road trip (32 days and more than 6,000 miles) will begin! The foundation of my itinerary is the Mission Trail--including the 21 Missions of California positioned from Sonoma to San Diego. In addition to the missions, I'll visit some amazing landscape locations such as Mono Lake (2 nights), Lake Tahoe, Joshua Tree National Park and the California coastline). I've identified some interesting architectural locations--the Bodie Ghost Town, three Presidential libraries and several sites in Los Angeles and San Diego. Finally, I'll visit family along the way (Las Vegas and San Diego). Of all my photography road trips, this one has been the most complicated one to plan. Unfortunately, I'm traveling during the summer when these locations are both crowded and expensive. During the summer, sunrises are earlier and sunsets are later. At this point, I now have lodging reserved for every night of this trip. The rest of the more detailed planning (i.e., best time to shoot specific locations, planning for parking, etc.) is done on a daily basis. It's just too overwhelming to deal with all of the details for a 32 day trip at once! Here's my itinerary:
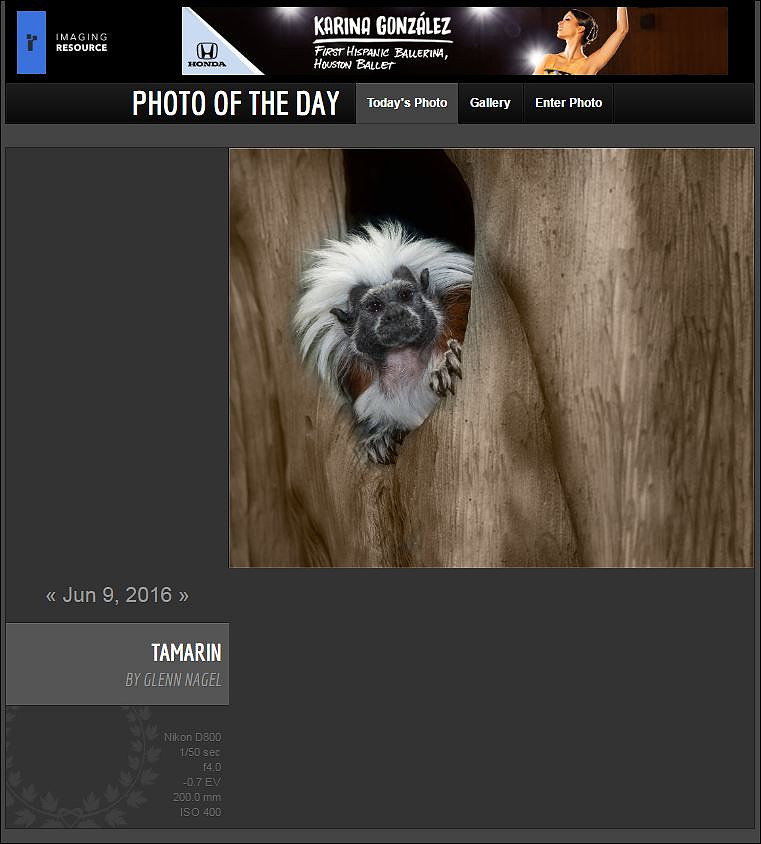
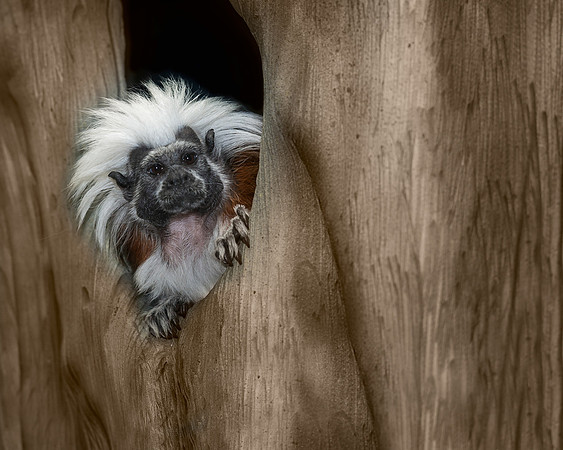
"Tamarin" Wins Photo of the Day!Last Thursday, my "Tamarin" picture won Imaging Resource's "Photo of the Day". CLICK HERE to view Imaging Resource's Photo of the Day page. This image was captured just over a month ago at the Tropic World exhibit at the Brookfield Zoo. The cotton-top tamarin is a challenging subject to photograph due to the low lighting conditions of the indoor exhibit. The tamarin is also tiny--weighing less than one pound!
This marks the 32nd time that one of my photographs was recognized by Imaging Resource as its "Photo of the Day". Click here to view all of the winning entries over the past three years.
Home Away From HomeWhile traveling, I like to keep my electronics (camera, flash units, laptop, etc.) fully powered. And, I like to import photos from my camera's storage cards to my laptop each day. Upon import, I caption the images and then back everything up using two portable external hard drives. All of this can be challenging to accomplish on long road trips while camping at night. During past trips, I was able to keep current on these tasks. I used a power inverter in my car to keep everything charged. And, I would usually import images on the laptop while sitting in the parked car somewhere. During my last road trip to the Desert Southwest, I visited McDonald's to accomplish these tasks with ease. In recent months, I've noticed that many of the McDonald's restaurants have power outlets next to the booths. All of the restaurants offer free Wi-Fi.
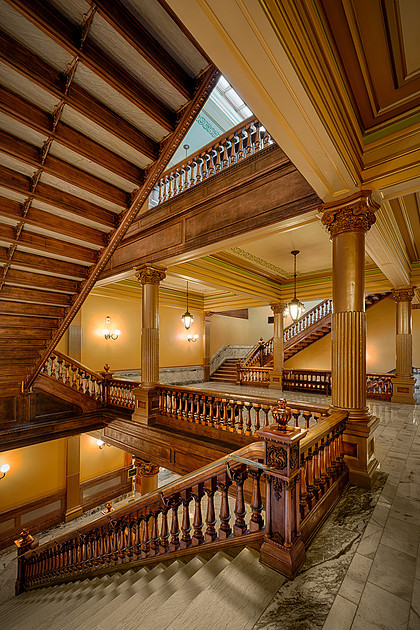
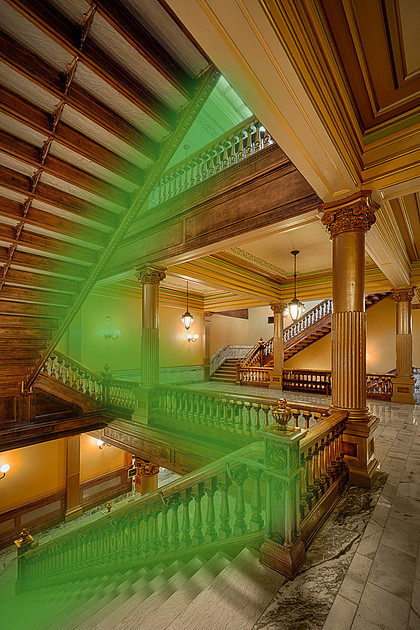
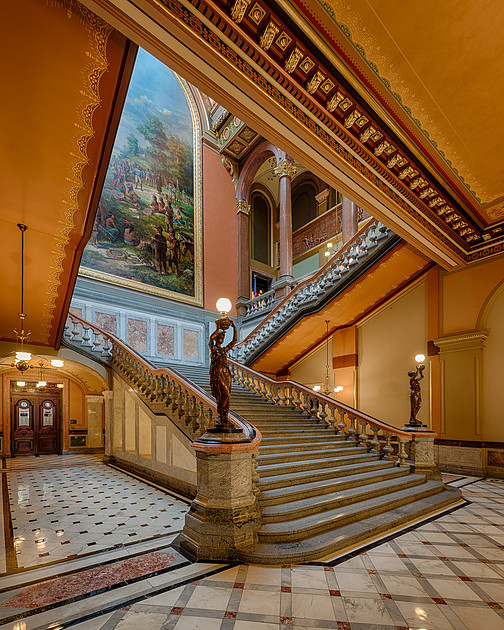
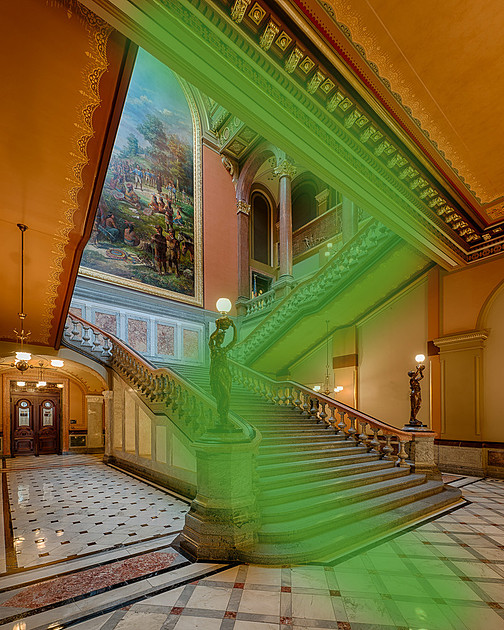
So, I visit a McDonald's during an off hour in the middle of the afternoon (when the light isn't optimal for photography). While I'm working on my photos (captions, adding GPS coordinates, etc.) on my laptop, my laptop and camera batteries are being charged. The fast internet connection also enables me to look up information to help me with my captioning as well as to do research for the next day's travel. By the time I leave the restaurant, I'm all caught up and ready to continue with the trip: electronics charged, images imported, photos backed up, emails read, etc.--all with ease and in comfort! S CurveWhen studying composition, there are many "rules" or guidelines to consider to strengthen an image. Concepts include the rule of thirds, symmetry, leading lines, etc. The S-curve can also introduce a strong element of composition in a frame. I read one reference that described the S-curve as "compositional gold". Some say that the S-curve is one of the only geometrical shapes that can stand alone as a main subject. You never know when you'll come across a S-curve while shooting. I happened to notice two of them in State Capitol buildings--the first in Kansas and the second in my home state of Illinois. I think the S-curve significantly strengthened the composition of these photographs:
Sioux FallsDuring my road trip through South Dakota, I spent a day in Sioux Falls. During my stay, I photographed the spectacular Cathedral of St. Joseph, the Great Plains Zoo and Falls Park. It was my first time visiting Sioux Falls. It quickly became apparent how the city got its name. The Big Sioux River practically runs right through the downtown area!
Youth Baseball PortraitsAs one can quickly gather while viewing my website, I rarely shoot portraits of people. But, I always make a point of capturing some images of the baseball players who I coach each season. Since I hadn't set up my Einstein studio lights in a year, it took me a while to figure out how to get started. Before long, two of the strobes were triggering at what I thought were the appropriate settings. I placed one strobe inside of a large softbox and positioned it to the left of my camera (my main light). I fired another strobe into an umbrella and faced it towards the white seamless paper background. I used a large piece of white foamboard for my fill. It was kind of nice having complete control over the lighting--which is very different from shooting landscapes! I used the Nikon D800 for all of the shots. I alternated between the Nikon 70-200 2.8 and the Nikon 200 f/2 throughout the photo shoot. Both lenses are excellent, but the Nikon 200 f/2 is in a league of its own. It might be Nikon's sharpest lens. For camera settings, I used an aperture of f/8 for every picture for ultimate sharpness. I used a shutter speed of 1/250th--which is fast enough to remove all of the ambient lighting. The ISO was set at the base level of 100 for the D800--which is optimal for image quality. The strobes were set to generate the appropriate amount of light for the right exposure at those camera settings. Here are a few of my favorites from the shoot:
To view more of the images, please CLICK HERE. |