|
I'll be posting some random thoughts here about my photography: my travel plans, technical information behind some images, stories about how certain pictures were captured, etc. The timing of the postings will also be random as my priority is capturing new images rather than writing about existing ones. I hope you will feel free to comment on any of my postings and I appreciate you taking time to read my entries.

"Power Plant" Wins Photo of the Day!This morning, my "Power Plant" picture won Imaging Resource's "Photo of the Day". CLICK HERE to view Imaging Resource's Photo of the Day page. Earlier this year, this photograph was also selected as an Editor's Choice by the Dreamstime photo agency. I captured this image while killing time waiting to enter Antelope Canyon in Page, Arizona. The power plant is located directly across the road from the Lower Antelope Canyon entrance.
This marks the 31st time that one of my photographs was recognized by Imaging Resource as its "Photo of the Day". Click here to view all of the winning entries over the past three years.
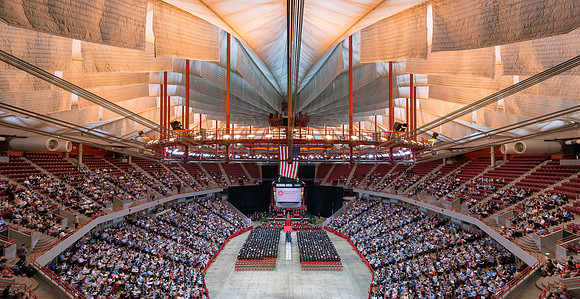
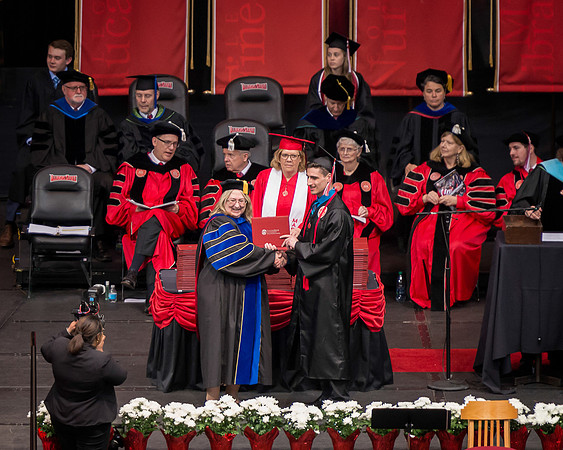
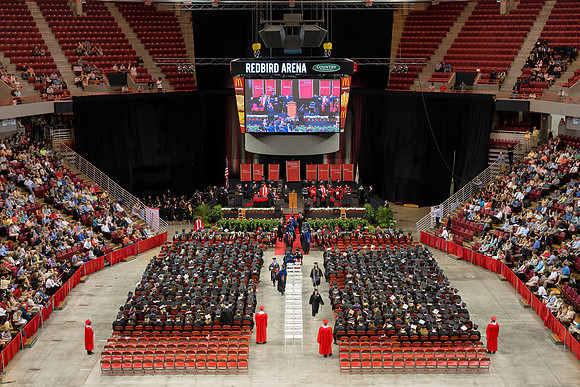
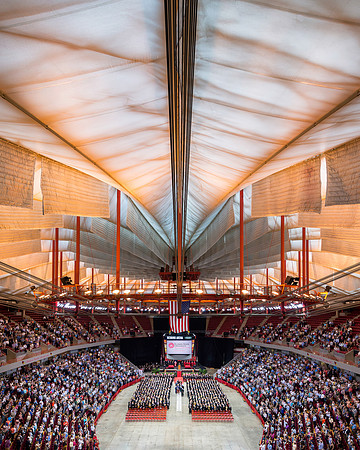
My Portable SolutionThis past weekend I attended the graduation ceremonies at Illinois State University. My nephew, Kevin, graduated from the College of Business. At the last second, I decided to pack some camera gear in hope of capturing some images of the event. Given the higher security levels in recent years, I packed light. The following items easily fit into a small shoulder bag (the Think Tank Urban Disguise):
I didn't chance carrying a tripod or any of my longer lenses. Signs were visible as we entered the parking lot warning spectators that backpacks or bags are not permitted inside the building. My approach was to carry this relatively small shoulder bag into the venue. If questioned, I would show the security personnel that I only had camera gear. If I was unable to enter with my gear, I would return the bag to the car. To my surprise, there was no security presence as I entered the Redbird Arena. I simply walked to my seat with my gear. If I had known that, I would definitely have brought my 300 2.8 and tripod with me! During the ceremony, I worked my way to the back of the arena so that I could capture some photographs of the event. While I was there, all three (sometimes referred to as the "Holy Trinity") lenses came in handy. As always, I enjoy shooting ultra wide with my Nikon 14-24:
Lower Over UpperNearly every nature photographer dreams of visiting Antelope Canyon near Page, Arizona. These slot canyons offer so many amazing colors and compositions. It's kind of like a photographer's Disneyland. So, I added Antelope Canyon to my Desert Southwest Road Trip itinerary. There are two popular slot canyons to visit near Page--Upper and Lower Antelope Canyon. Upper is most popular, although Lower is highly visited as well. Both are located on Navajo lands. Unfortunately, visiting either canyon can be a trying experience. The management is disorganized and the canyons are severely overcrowded. The dream quickly became a nightmare. When I first arrived, I was disappointed that the canyons were closed due to the possibility of flash floods. After the long drive to Page, I didn't want to leave without seeing the canyons. Fortunately, the canyons opened again the next morning. I visited the Upper Antelope Canyon first. Visitors are only permitted to use a tripod on the photography tour. As a tripod is critical for my photography, I decided to pay the extra amount to join that tour. I panicked a little when the first two tour companies that I visited in town informed me that the tours were sold out for the next month. However, several tour companies (too many) are granted access to the canyons--so it was just a matter of time before I found one with an opening. I arrived at the Upper Antelope Canyon at 7 AM--an hour before it opens--to buy a ticket to that day's photography tour on site. I was charged an $8 Navajo Reservation entry fee just to pull into the lot to ask a question. I was told that there was one opening left for the tour. The charge was $80. The sign indicated that credit cards are accepted. As I started to hand over my credit card, I was told that it would be $80 cash--or no tour. To my relief, I had the $80 in cash--which isn't always the case. The tour was set for 11 AM. I came back to the site at 10:30 AM. The first thing that I noticed was 20 people were being turned away from an earlier tour despite having reservations and having already paid. The tours were overbooked! I was told that they didn't have a guide for our photography tour, but that we could join the regular group--despite paying three times as much as everyone else! In the end, the guide made sure that we stayed in front of the regular group, could set up our tripods and had the first attempt for any pictures. The Upper Antelope Canyon was a zoo. This slot canyon is only about 200 yards long--and there were hundreds of people there. One photographer later told me that I should have just lagged behind and captured some shots as the group moved ahead. That would have been impossible as there wasn't any gap between our group and the one behind us. It was packed shoulder to shoulder throughout the entire canyon! Fortunately, our guide was able to hold back the crowds for a few seconds in order for us to get some photographs. He was acting like a left offensive guard in a football game--trying to buy the quarterback (or in this case the photographer) enough time. I actually had to treat this like I was shooting a sporting event. I increased my ISO so that I could reduce the shutter speed enough to have a better chance of getting a picture without people walking through the frame. Here is one of my better images from the Upper Antelope Canyon:
The Upper Antelope Canyon tour concentrated on light beams. During the summer months, the sun is better aligned with the slot and strong beams of light shine down onto the canyon floor. To help make the beams more visible, the guide continually throws handfuls of sand and dust into the air. Personally, I didn't like the high contrast and harsh light conditions very much. I much preferred the diffused, soft, pastel colors of the Lower Antelope Canyon for my photography. Although both canyons will try one's patience, I prefer the Lower over the Upper! Colorful ParakeetsLast week I visited the Hamill Family Wild Encounters exhibits at the Brookfield Zoo. Within the area is a large indoor free-fly exhibit which features hundreds of parakeets. It's a great place to spend time practicing photography with some challenging subjects! The colorful parakeets are very small. A parakeet will easily fit within your hand. On average, the parakeets are 6 inches tall. The parakeets are also fast and fidgety. They rarely stay in one place for long. I had many failed attempts at capturing pictures of these birds due to having a blurred parakeet in the frame. Controlling the background is also challenging within the exhibit space. My goal was to seek clean backgrounds in order to highlight my subject. It takes patience to wait for a parakeet to perch on a bare branch that offers an uncluttered background. Controlling the depth of field is another challenge. At first, I selected a wide open aperture (f/2.8) to help minimize background distractions and to help account for the relatively low lighting inside the exhibit. However, at f/2.8 the depth of field was so shallow that only a small portion of the bird was in focus. When I locked focus on one of the eyes, the feet were blurred. As time went on, I narrowed the aperture for greater depth of field. This meant that I had to be even more careful about the backgrounds. A narrower depth of field also results in a higher ISO setting (sacrificing a bit of image quality) to maintain proper exposure. At some point, I settled in on an aperture of f/7.1. This rendered more of the parakeet in focus while adequately controlling the background distractions and maintaining a reasonably low ISO setting for proper exposure. The lower feathers of the parakeets extend so far away from their bodies that it's impossible to have the entire bird in sharp focus--regardless of the aperture setting. That would require focus stacking, which wasn't practical for most of these photographs. I did, however, use a focus stacking technique to save one of the photographs. The following photograph was initially ruined because the parakeet on the left lifted one of his legs very quickly during the exposure--creating a distracting blur. I captured a second photograph and then replaced the shaky leg with the steady leg in Photoshop.
I used my Nikon D800 camera, Nikon 300 2.8 VR lens and Nikon SB-900 flash unit throughout the visit. To view six other images from this photo shoot, please CLICK HERE. "Dakota Barn" Wins Photo of the Day!This morning, my "Dakota Barn" picture won Imaging Resource's "Photo of the Day". CLICK HERE to view Imaging Resource's Photo of the Day page. This photo was captured late last year during my road trip through South Dakota. For more information about this particular photo shoot, please click here to view that blog entry.
This marks the 30th time that one of my photographs was recognized by Imaging Resource as its "Photo of the Day". Click here to view all of the winning entries over the past three years.
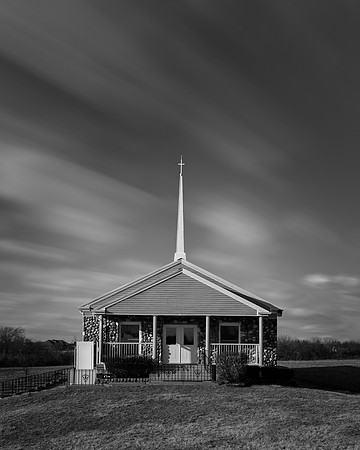
Going Really Long!Earlier, I posted an entry about long exposure photography. That entry discussed an image with an exposure time of 104 seconds. In another long exposure picture taken during that same outing, I extended the shutter speed to nearly 20 minutes!
As a point of reference, here's the same scene from a few minutes earlier:
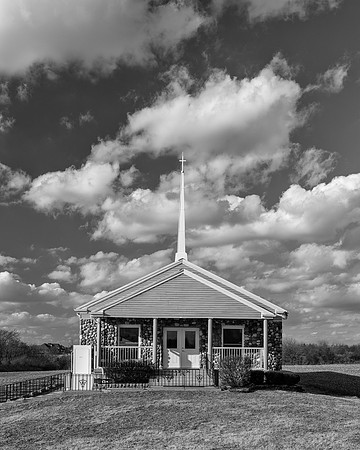
Slowing Things DownOne of my photography goals for this year is to create more long exposure pictures. Long exposures provide an opportunity to capture things that we can't see with our eyes. The technique can produce surreal images. Last week, I practiced the technique at the Victory Baptist Church in Mokena, Illinois. It was a cloudy afternoon. The clouds were moving quickly across the sky in windy conditions. Here's my first picture. It's taken with a shutter speed of 1/125th of a second--plenty of speed to freeze the clouds:
I will post more information in a future blog entry about how how I use neutral density filters to create long exposures. I'm relatively new to long exposure photography. With further practice, I hope to be able to more consistently create interesting results. Welcome Antarctica!Every so often, I view my website data in Google Analytics. One of the things that Google Analytics provides is an analysis of the location of website visitors over certain periods of time. You can see the distribution of visits by continent, country, city, etc. My website has now been active for just over nine years. During that time, my welcome message on the main page of my site included the following statement: "Now, more than 160,000 people from 157 countries (and 6 continents)--including Pakistan, Tanzania, Iran, Ukraine, Sudan and Cambodia--have browsed through the pictures on this site. I am anxiously awaiting my first visitor from Antarctica!" Last month, a visitor from Antarctica viewed my photographs! So, welcome Antarctica!
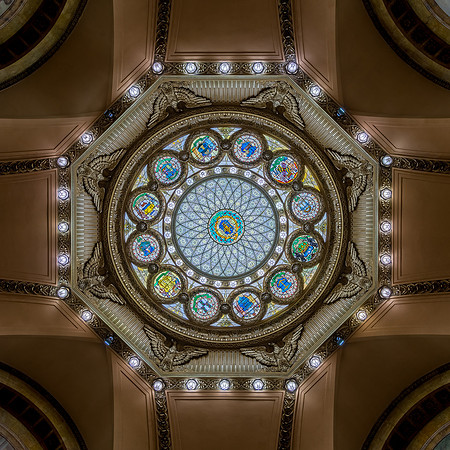
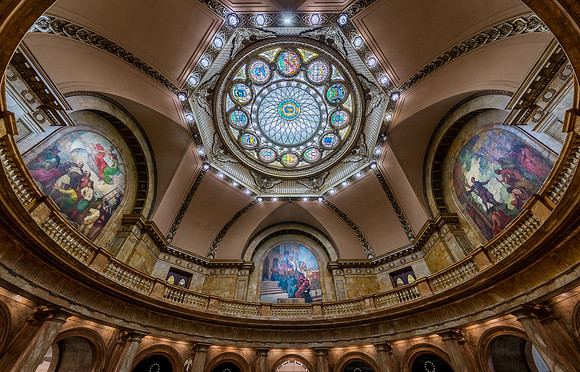
Removing ObstaclesSometimes it's helpful to remove items from the scene before pressing the shutter. Certain items (e.g., signs, ropes, trash) are distracting elements within the frame. In certain situations, the items can easily be removed using Photoshop. Other times, it's very difficult to remove the distractions digitally as the items are situated in front of details within the frame that cannot easily be recreated. During my last photography trip, I wasn't just moving distracting items from the scene. I was also moving things that prevented me from setting up my camera for the best vantage point! When capturing interior dome photographs, it's critical to position the lens directly under the center of the dome for a symmetrical image. If the lens isn't positioned in the center of the floor, the ceiling surrounding the dome will not appear as a circle. Instead, the circle will stretch more into the shape of an oval. I like to capture the ceilings using a variety of perspectives. However, I prefer to capture at least one picture with the dome in the shape of a circle. Positioning the camera in the center of the floor isn't always an option. In many state capitols, a monument or state seal surrounded by ropes is positioned in the center of the rotunda floor. However, in Memorial Hall of the Massachusetts State House, there were a number of flags on stands in the center on the floor. So, one by one I moved the flags out of the way. Since I was using a wide angle lens, I was surprised that even after moving the flags a considerable distance they were still in the frame! I kept moving the flags further from the center until I had some clear shots:
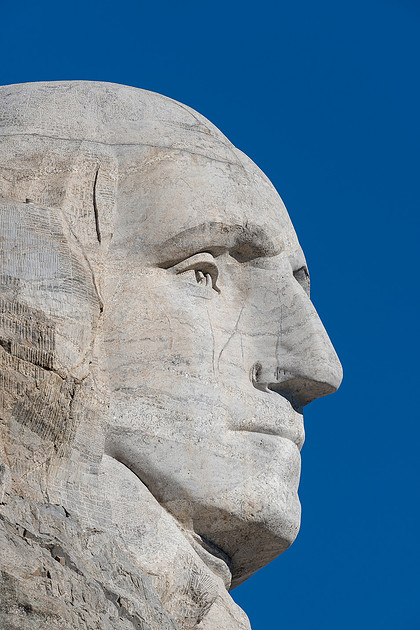
Breaking Out the Heavy ArtilleryI'm sure some people wondered why I was lugging around a couple of very long lenses while walking the grounds of Mount Rushmore. The 500mm lens tends to attract a lot of attention. Kids often ask me if they can look through my "telescope"! But, I was glad that I had my 500mm lens with me. It allowed for some dramatic closeups of Mount Rushmore. This image was captured with a 1.4X teleconverter attached to my 500mm lens--yielding an effective 700mm of focal length:
The blue sky was enhanced slightly by using a circular polarizing filter. I applied just a touch of polarization (by rotating the filter about a quarter of the way) since the clear sky was already quite blue. I find that too much polarization, especially with blue skies at higher elevations, will turn the sky almost black. It's an unnatural look. I used two of my telephoto lenses, the 300mm and 500mm, to create a number of closeup pictures of the faces of the presidents on Mount Rushmore--both individual and group portraits. Later, I used the 500mm extensively while visiting the Crazy Horse Memorial. I'll share more about my experience at Crazy Horse in a future blog entry. |