|
I'll be posting some random thoughts here about my photography: my travel plans, technical information behind some images, stories about how certain pictures were captured, etc. The timing of the postings will also be random as my priority is capturing new images rather than writing about existing ones. I hope you will feel free to comment on any of my postings and I appreciate you taking time to read my entries.

High Dynamic Range in the Shadow RoomOne of the challenges with photography is that the camera's sensor (or film) does not record as much dynamic range as the human eye is capable of detecting. Generally, when attempting to capture a scene that contains a high dynamic range, the photographer must choose between exposing for highlights or shadows. However, when exposing for highlights all detail is lost in the shadows. And, when exposing for shadows all information is blown out of the highlights. One way of dealing with scenes containing both bright highlights and dark shadows is to take multiple frames of the same scene--exposing for the shadows in some of the frames and for the highlights in other frames. In post processing, these images can be combined in such a way to render details in both the shadows and the highlights. I usually use software to more easily blend multiple exposures to create a high dynamic range (HDR) photographs. My latest software of choice is Nik HDR Efex Pro. Yesterday, I was confronted with an scene of extreme contrast. This scene of the Manteno State Hospital ruins was captured at high noon. The bright overhead sun was casting dark shadows everywhere! Here is what my camera recorded given my best single frame exposure:
However, by taking four more exposures (2 stops underexposed, 1 stop underexposed, 1 stop overexposed and 2 stops overexposed) and blending them to create a HDR photograph, the dynamic range is greatly improved:
Visitors From Around the WorldAt last count, visitors from 139 countries have viewed photos on this website! Following is a list of those countries in order of the number of visitors:
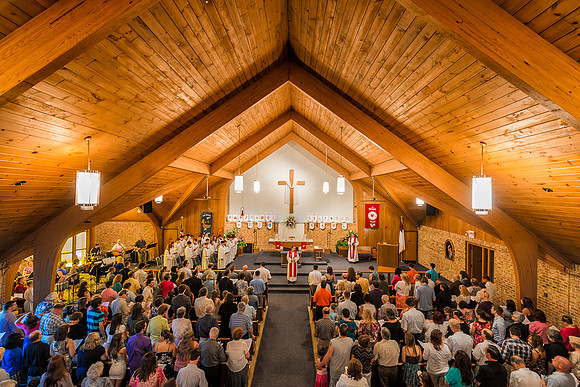
Thanks to one and all! Attention to the DetailsYesterday, I attended my niece's confirmation ceremony. I enjoyed taking photographs that captured the larger environment within the church:
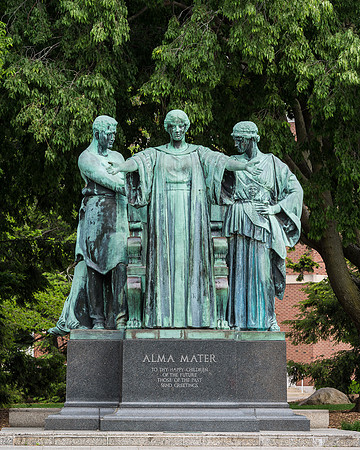
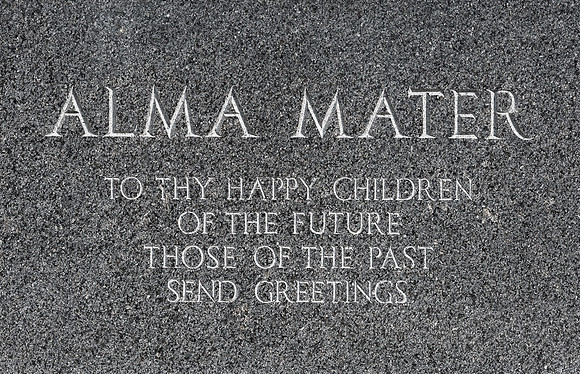
Alma Mater Statue
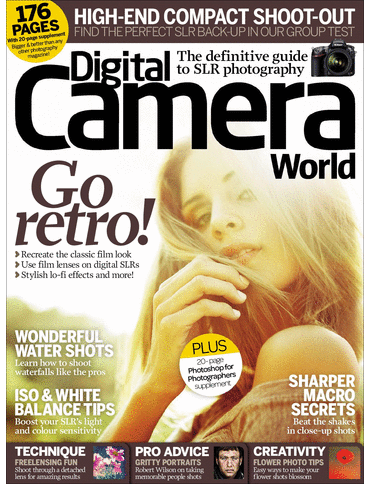
Digital Camera World Published My Picture!
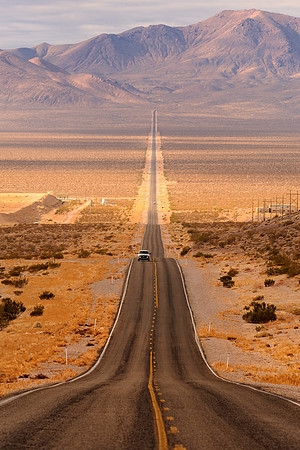
"Digital Camera World", marketed as "the world's best dSLR magazine", published my "Long Desert Highway" photograph in an article about road and highway photography. Here's a link to the article from the May 10, 2012 edition of the this publication from the United Kingdom: http://www.digitalcameraworld.com/2012/05/10/in-pictures-30-beautiful-photos-of-roads-and-highways/ I'm told that getting published in this magazine is a real honor. Or, should I say honour? :)
Prius CampingNOTE: A more recent post regarding Prius camping was published on August 15, 2012. During my last two trips, I've used the Prius as a "mini-RV" to gain easier access to remote locations for sunrise photo sessions. Clearly, the Prius offers a gas mileage advantage over any other camping vehicle. While driving the flat highways of Florida, my 2006 Prius achieved over 60 miles per gallon!
In contrast to tent camping, the Prius offers far better protection from the elements--and from bears! Also, I am able to set the thermostat on the Prius to control the cabin temperature. One night in western Wyoming the outside temperature was 18 degrees, but the Prius maintained the cabin temperature at 68 degrees all night. The hybrid battery powers the heating system with the gas engine acting as a generator when the battery power falls below a certain level. So, the gas engine might kick on for a few minutes every 20 minutes or so, but then it shuts down once the battery is charged. This system works for cooling as well as heating.
I purchased a power inverter which provides an electrical outlet in my Prius. This allows me to recharge my laptop and camera batteries from my car.
Most camps offer modern restroom and shower facilities.
Prius camping makes it much more convenient and economical to capture photographs that are far from any motel. To capture this image of the Mesa Arch in Canyonlands National Park, one must arrive at the site at least 30 minutes before sunrise. It takes well over an hour to reach the parking lot from Moab, the nearest town. Then, there's a half mile hike in the dark. It's much more convenient to reach this site from the national park's campground which is located just two miles away!
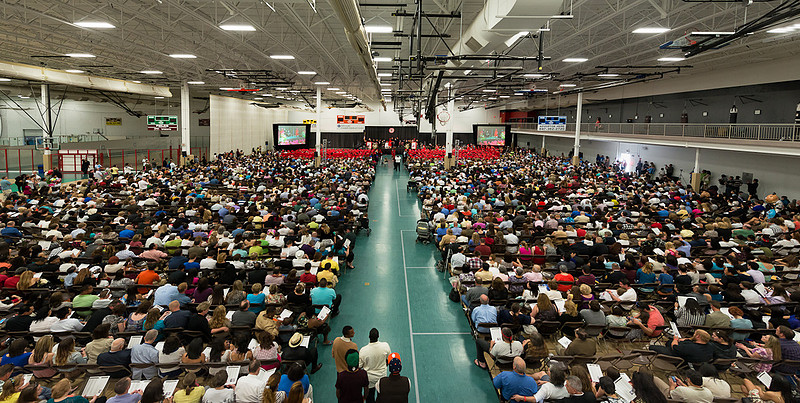
Cast of ThousandsI brought my Nikon D800 to my nephew's high school graduation last Sunday. The only way to capture the size of the large crowd was to somehow get above it. Fortunately, I was able to access the track that circles above the gymnasium. The 14mm focal length provided an ultra-wide view of the audience.
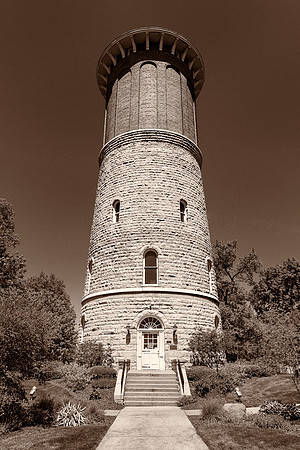
DiscoveryOne of the things I enjoy most about photography is how it encourages me to discover new places. The other day, I was driving south on Wolf Road from Oak Brook. I've driven this route hundreds of times over the years. This time, I decided to drive a few blocks west of Wolf Road to take a look at downtown Western Springs. The first thing that caught my eye was a historic water tower. This structure was built in 1892 and was added to the National Register of Historic Places in 1981.
f/8 and Be ThereWhen photographing certain subjects, a narrow depth of field of focus is preferable. For example, if I wish to isolate the subject by placing it in sharp focus against a blurred background, I typically select a very wide aperture such as f/2.8 or f/4. Other subjects call for a very wide depth of field of focus. For example, when taking a picture of a landscape where I wish to have both the foreground and background elements in sharp focus, I select a very narrow aperture such as f/16 or f/22.
However, I photograph many subjects where the depth of field decision is not as critical. In these situations, I'm not attempting to isolate anything by using a narrow depth of field. And, I'm not faced with a subject that demands an extraordinary depth of field. For these subjects, I almost always set the aperture to f/8. Most lenses are sharpest when stopped down somewhat from their widest settings. And, f/8 yields the sharpest possible images for me when depth of field is not an overriding concern.
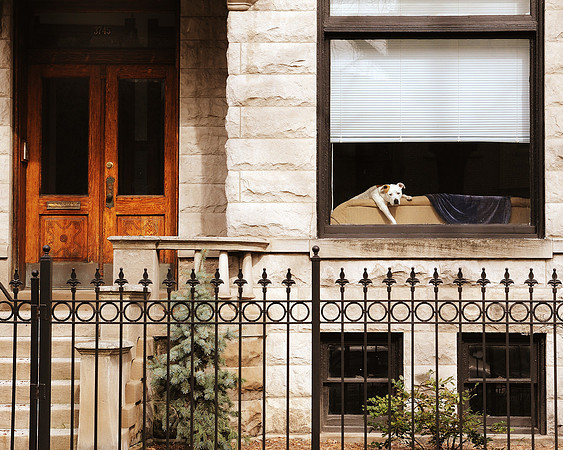
Here are some example of images where I selected an f/8 aperture: 1: "Bungalow Puppy" - this scene is relatively flat and does not require an extraordinary depth of field to keep everything sharp from front to back.
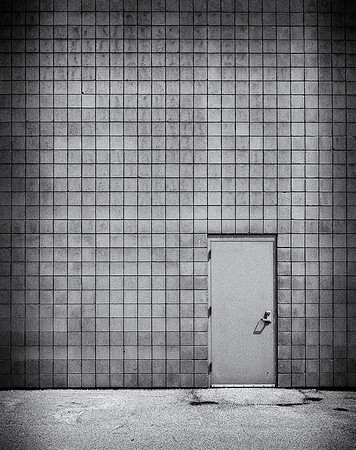
Sometimes, selecting a f/8 aperture will result in a slow shutter speed for proper exposure. I use a tripod to enable the use of very slow shutter speeds to remove any concern about camera movement. SimplicityMany times, I like to photograph simple scenes. Earlier in the week, I noticed this door surrounded by many little squares while driving by the Market Square Mall in Champaign, Illinois. So, I stopped to capture a picture with my Nikon D800 and Nikon 24-70 2.8 lens. With the camera secured to a tripod, I carefully aligned the frame so that all the lines appeared to be straight. Finally, I converted the photograph to B&W using Nik Silver Efex Pro2 software.
|
 Note that his image would have been much worse if I wasn't using the Nikon D800. The Nikon D800's sensor at ISO 100 has an amazing dynamic range.
 I always secure the camera to a tripod when creating high dynamic range images. And, once the HDR image is generated from the software, I touch it up using both Lightroom and Photoshop--that is, I add back a bit of contrast and selectively burn and dodge areas within the frame.
 But, I try not to ignore some of the more interesting details that surround me during the event, such as this old Berghaus pipe organ:
 Including a variety of images within a collection will usually make the set more interesting for viewers (wide versus close, colorful versus monochrome, etc.).
 Surprisingly, there is plenty of room for sleeping comfortably in the Prius. The distance from the dashboard to the back of the vehicle is nearly 9 feet long. I purchased a 3" thick Thermarest sleeping pad that fits perfectly into this space.



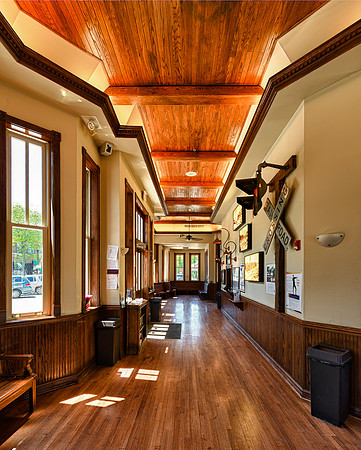
 The Western Springs Train Depot was across the street from the water tower. I found the interior of the train station to be an interesting subject as well.
 It's amazing how many interesting places there are within just a few miles of my home.
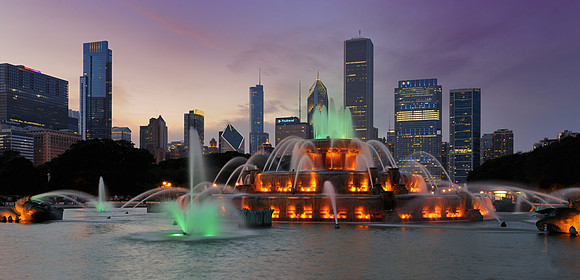
 2: "Buckingham Fountain" - in this scene, the water fountains are far enough away that f/8 will carry the field of focus from the fountains to the skyline without any trouble.
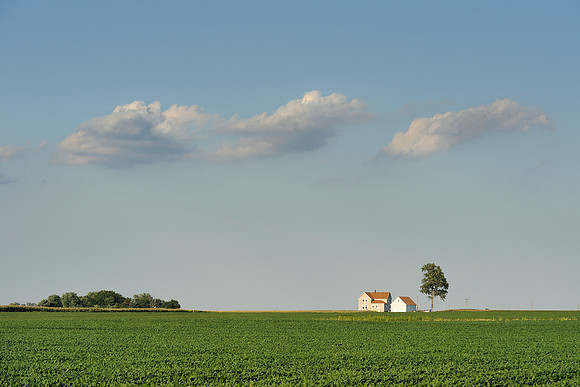
 3: "Illinois Farmhouse" - this scene does not contain any foreground elements that require a narrower aperture than f/8.
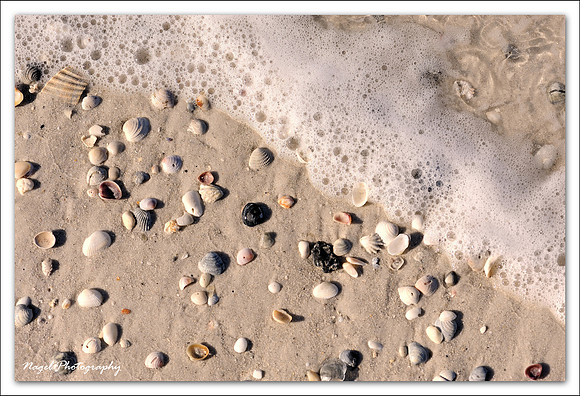
 4: "Sandy Shells" - once again, the elements within the scene are positioned relatively close to each other, so f/8 is appropriate.