
|
I'll be posting some random thoughts here about my photography: my travel plans, technical information behind some images, stories about how certain pictures were captured, etc. The timing of the postings will also be random as my priority is capturing new images rather than writing about existing ones. I hope you will feel free to comment on any of my postings and I appreciate you taking time to read my entries.

Hyperfocal Distance in ActionWhen attempting to maximize the depth of field of focus for an image, the concept of hyperfocal distance comes in handy. When a lens is focused at the hyperfocal distance, everything from that distance to infinity will be sharp.
I keep the following chart in my camera bag so that I know where to focus to maximize the amount of area in the frame that will be sharp for typical landscape and architectural scenarios:
With a 14mm lens attached to a camera body with a full frame sensor (e.g. Nikon D700), the hyperfocal distance is 2.7 feet at f/8. So, if I wish to have everything sharp from 2.7 feet to infinity, I would focus at a point that is 2.7 feet from my lens. For a little more depth of field, I would stop the aperture down to f/16 and focus at a point that is 1.4 feet from my lens to achieve sharpness from 1.4 feet to infinity.
If I'm shooting with a 50mm lens, f/8 will keep everything sharp from 34 feet to infinity. A smaller aperture (e.g., f/16) extends the range of acceptable focus from 17 feet to infinity.
Why is this important? If I wish to have everything in sharp focus in a landscape that has a foreground subject (e.g., flower) positioned 3 feet away from the lens, I need to focus on a point that is 2.7 feet from the lens (at f/8 with a 14mm lens). If focus on a point further away, the foreground subject would no longer be in focus.
By knowing the hyperfocal distance, I'm less likely to select a narrower aperture than is required to achieve the desired depth of field. Higher f/stop numbers (i.e., greater than f/8 or f/11) typically result in less overall sharpness due to the effects of diffraction. So, selecting the most appropriate aperture will result in the sharpest possible photographs.
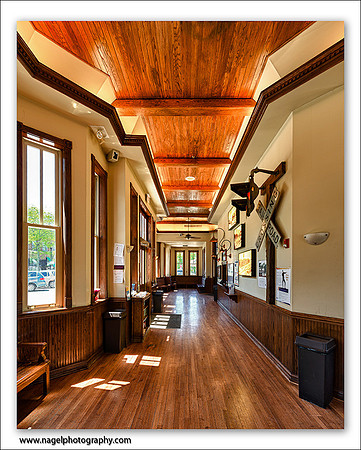
Earlier today, I captured an image inside the historic train depot in Western Springs, Illinois. The fixture located at middle and far right of the frame was located three or four feet from my lens. Since I was using a 15mm focal length, I knew that by focusing on that fixture (about three feet away) and using a f/8 aperture would ensure that everything from the fixture to the back of the depot would be sharp.
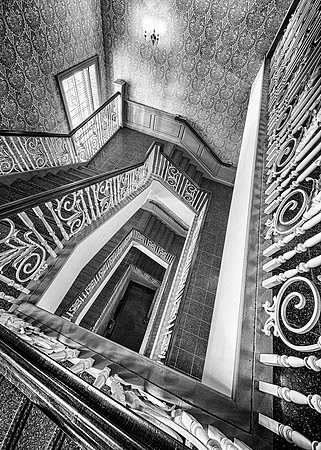
StaircasesUntil recently, I didn't have a single image of a staircase in my portfolio. Lately, it's one of my favorite subjects! 1: Scotty's Castle (Death Valley National Park, California)
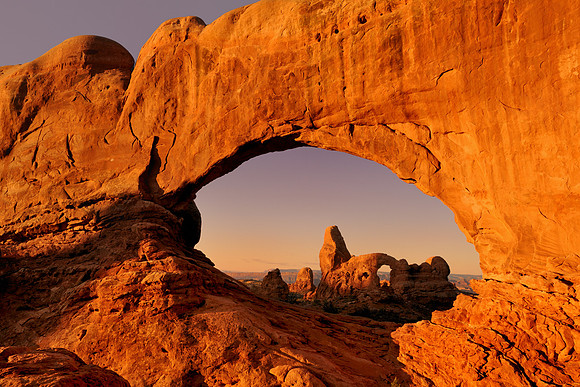
A Frame Within a FrameOne of my favorite compositional techniques is to include natural framing elements within the frame of the photograph. This helps to lead the viewer's eye into the image. Here are a few examples of this approach: 1: Turret Arch Through North Window (Arches National Park, Utah)
Through the FenceAnother technique that comes in handy while photographing baseball games is capturing images through a fence. Sports photographers have to rely on this technique so often that they refer to this simply as "TTF" (through the fence). During Sunday's Illini baseball game, I captured several TTF pictures.
I use the following approach to capture clear images when shooting through a fence:
The longer focal length combined with the selective focus will remove any indications of the fence in most cases! Ball on Bat!Many baseball photographers strive to capture an image of the ball at the moment it is making contact with the bat. This is sometimes referred to as a "BOB" (ball on bat) photograph. This is usually accomplished by using a high frame rate (up to 8 frames per second with the Nikon D700). The idea being that the more frames per second, the better the chances are that one of those frames will be a BOB. Yesterday, I was using my Nikon D800 during the game. I was not shooting in burst mode. Rather, I was capturing just one picture at a time. And, that's what made capturing this BOB photo so unsual!
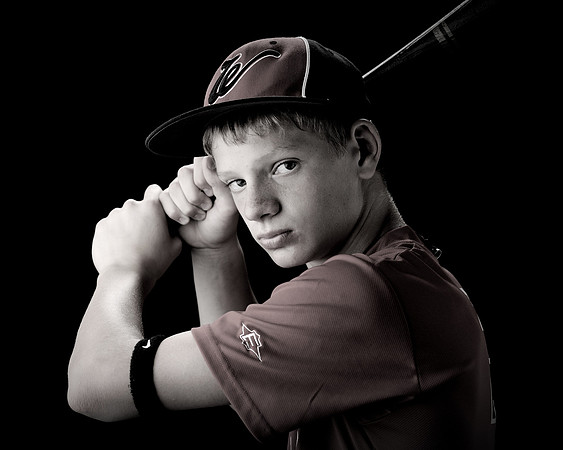
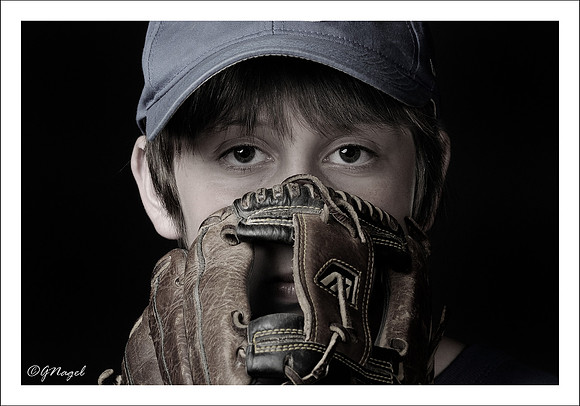
Clearly, a fast shutter speed is necessary to stop a baseball that is moving at 90 mph. For this shot, I set the shutter speed at 1/6400th of a second. To achieve such a fast shutter speed, I boosted the ISO setting to 400 and opened the aperture all the way (f/2.8). Player PhotosAs you might know, I’ve volunteered to take our team photo for this season. The team photo will be taken before or after an upcoming game. Additionally, I will shoot individual photos for anyone who is interested. Participation in the individual photo session is optional. I shoot pictures entirely for fun—and this is a good excuse for me to dust off my studio flash units (which I use very infrequently)! For anyone who is interested, I will fill the following time slots based upon a first-come, first-served process: 3:45 - 4:00 pm: Connor Baker 4:00 - 4:15 pm: Ryan Peters 4:15 - 4:30 pm: Ricky Kwak 4:30 - 4:45 pm: Aaron Gaspardo 4:45 - 5:00 pm: Connor Duesing 5:00 - 5:15 pm: Danny Hickey 5:15 - 5:30 pm: Christian Galindo 5:30 - 5:45 pm: 5:45 - 6:00 pm: Josh Groundwater 6:00 - 6:15 pm: Ian Welgat 6:15 - 6:30 pm: Matt Davis ************* Here are more details: The photos will be taken at the OYA Office on Friday, May 25th. I will set up a small two or three lights studio at the office. Players should arrive in full uniform—and bring both the red and gray jerseys. Players should also bring any equipment that they would ordinarily bring to a game: glove, bat, catcher’s gear, etc. We will set up three or four poses for each player: hitting, pitching, catching, etc. You can add to these if you wish. I will process and retouch these after the shoot. Once I’ve had time to process the images, the pictures will be available on my website for viewing.
Some photos will be processed in black & white or a desaturated look.
If after viewing the images you wish to order any prints, you may do so through this website. I do not release any of my digital files. I will also provide an option for you to purchase additional items through a third party fulfillment company—such as magazine covers, buttons, magnets, tickets, etc. for anyone who are interested.
Photography website: http://www.nagelphotography.com/ Warriors’ photos: http://www.nagelphotography.com/warriors Please don’t hesitate to call me with any questions or comments. Slow the Shutter for Something DifferentOne of my favorite things about photography is how the camera can "see" things that we can't see with the human eye. By slowing the shutter speed, we can portray motion in the frame. I recently captured this photograph of moving traffic on the Stevenson Expressway from the Willow Springs Road overpass using a relatively slow shutter speed (1/2 second).
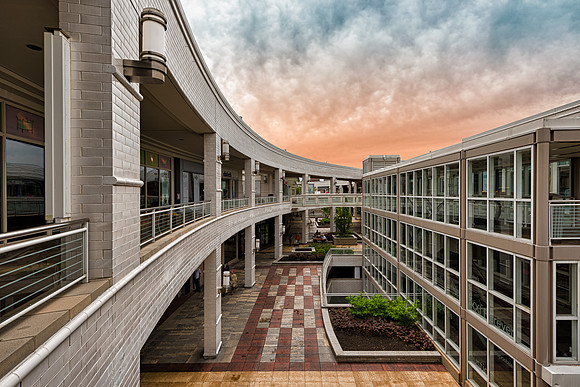
Ultra-Wide Angle for a Different LookOver the past few weeks, I've been using my Nikon 14-24 2.8 lens more than ever before. The ultra-wide perspective gives images a new look. It makes it possible to turn ordinary scenes into extraordinary scenes. Here are some wide angle views from my visit to the Oak Brook Mall yesterday: 1: 14mm
Every Lens in the BagWhile visiting the Chicago Botanic Garden over the weekend, I carried five lenses and a tripod along with my camera. Since I lugged all that weight around the garden all day, I made sure that I used each one of those lenses! Viewing scenes using a variety of focal lengths helps me to see things in different ways. 1: 14-24 2.8 (@ 14mm)
Still Amazed by the D800's Resolution PowerAfter shooting with the D800 for a few weeks now, I continue to be impressed with the resolution of the sensor. Here's an example from this morning:
|

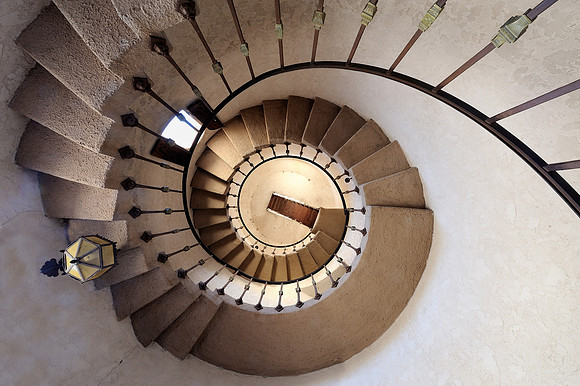 2: Grainger Engineering Library (Urbana, Illinois)
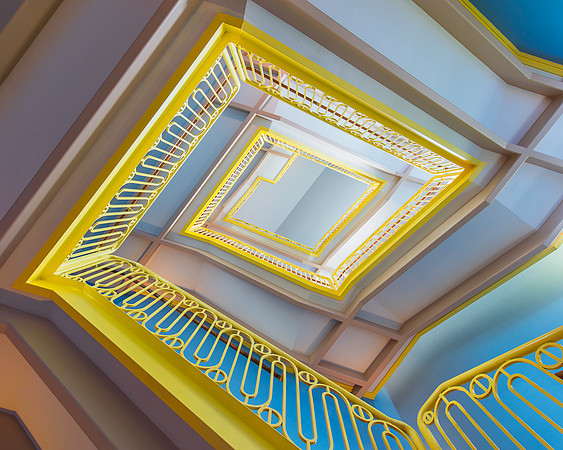 3: Illini Union (Urbana, Illinois)
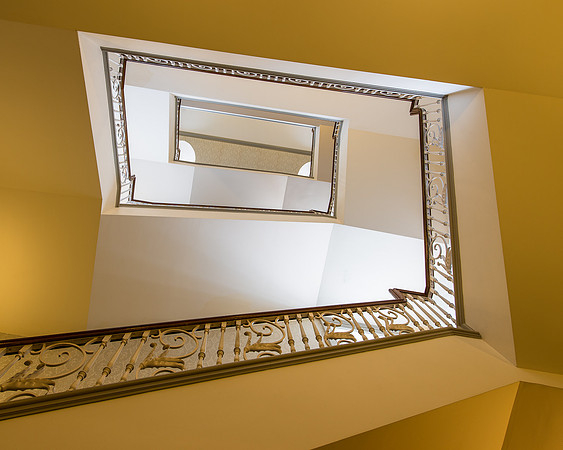 4: Illini Union (Urbana, Illinois)
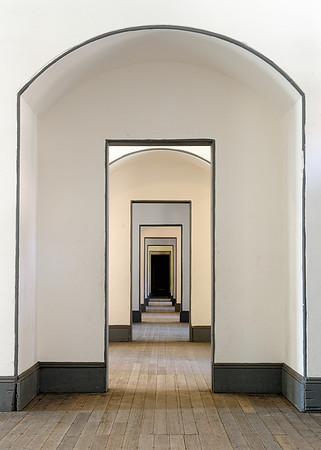
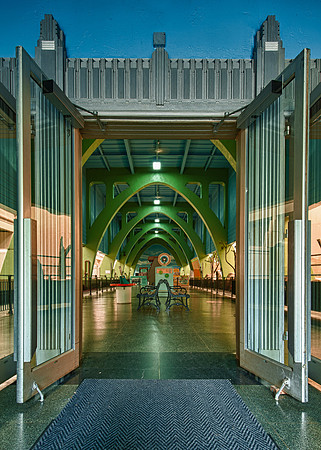
 All of these images were enhanced with an ultra-wide perspective using the Nikon 14-24mm lens attached to a FX body (Nikon D700 or Nikon D800).
 2: Historic Fort Jefferson (Dry Tortugas National Park, Florida)
 3: Our Lade of La Leche Chapel (St. Augustine, Florida)
 4: Fort Point (San Francisco, California)
 5: Pachyderm House (Brookfield, Illinois)
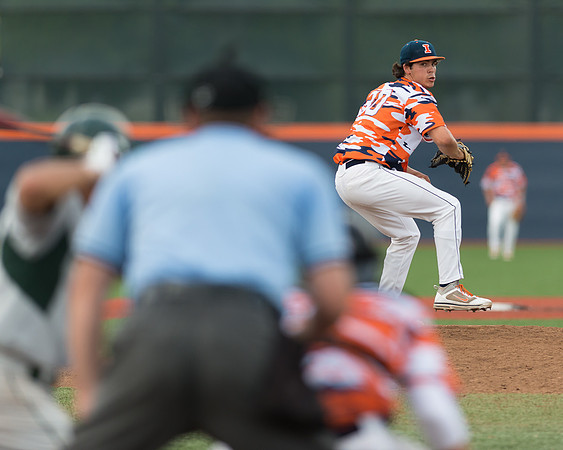 And, here's another one from a college baseball game from a couple of seasons ago:
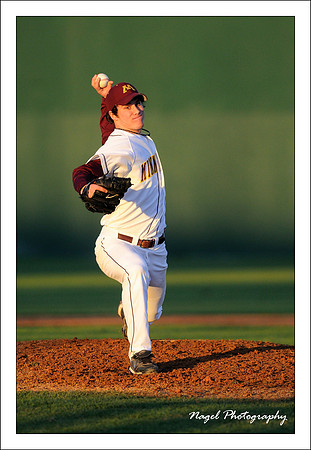 And yet another one from a high school baseball game from last season:
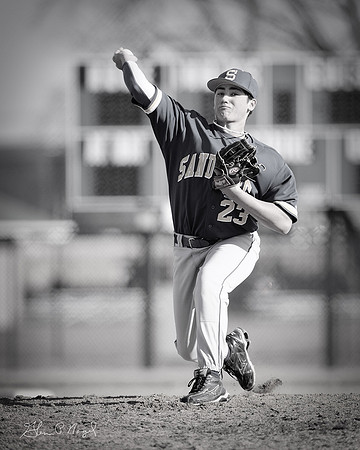
 Here's the 100% crop view (actual pixels):


 It can be challenging to obtain slow shutter speeds in bright daylight conditions. Unless appropriate compensations are made, the photograph will end up being too bright (overexposed). For this image, I used the following steps:
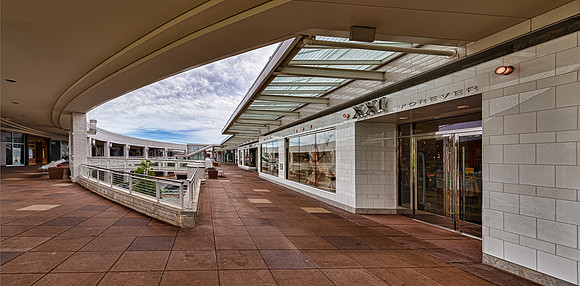 2: 14mm
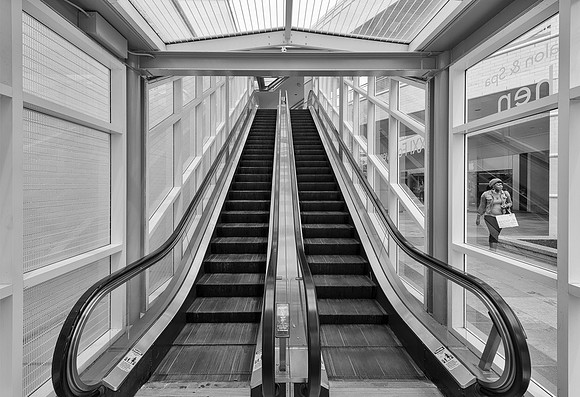 3: 18mm
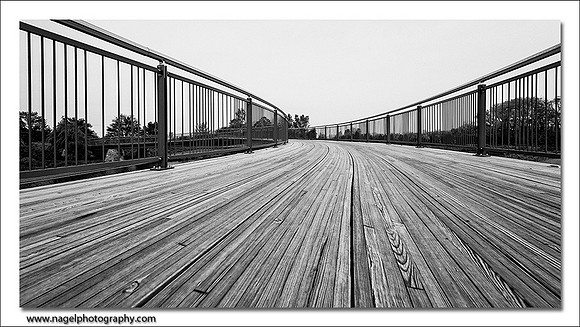 2: 24-70 2.8 (@ 50mm)
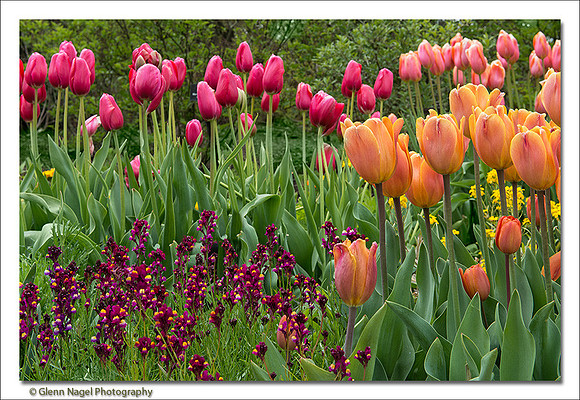 3: 70-200 (@ 170mm)
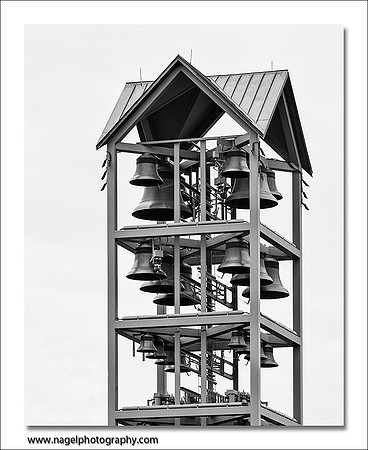 4: 105 VR
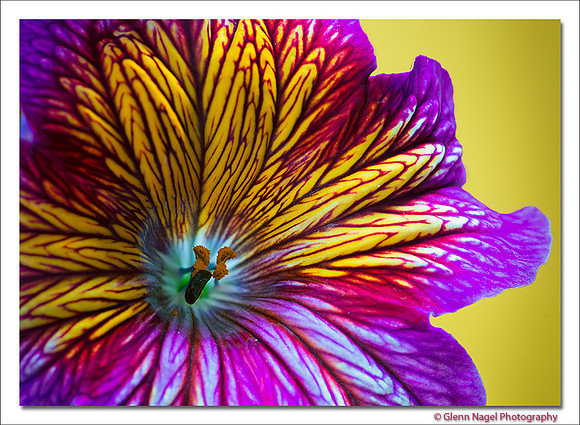 5: 300 2.8 VR
 And, here's the 100% crop:
