|
I'll be posting some random thoughts here about my photography: my travel plans, technical information behind some images, stories about how certain pictures were captured, etc. The timing of the postings will also be random as my priority is capturing new images rather than writing about existing ones. I hope you will feel free to comment on any of my postings and I appreciate you taking time to read my entries.

Highlight and Shadow RecoveryEarlier this week, I captured a quick snapshot of the Home Run Derby finalists for our Pony baseball league. The challenge was dealing with very harsh light. Harsh light combined with the baseball caps created some very dark shadows. Fortunately, Adobe's Lightroom 4 does a nice job recovering the highlights and shadows within an image. Here is the original picture:
Within Lightroom's Develop Module, I dropped the Highlights (-71) and boosted the Shadows (+69):
Niikon D800 Returns From MelvilleBack on May 31st, I sent my camera into Nikon's Service Center in Melville, New York. Nikon performed the following:
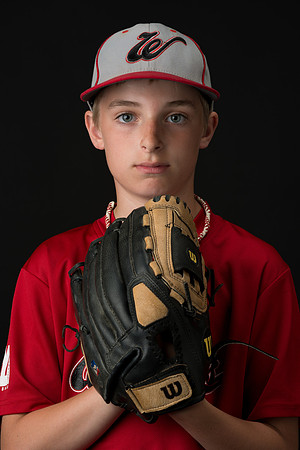
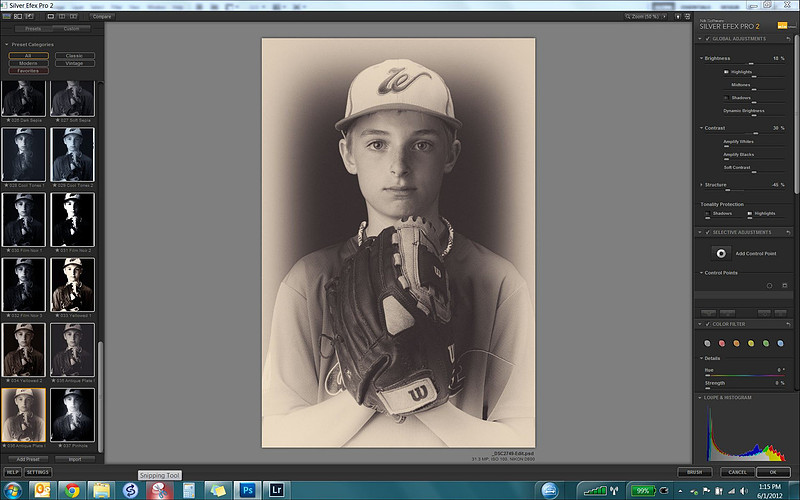
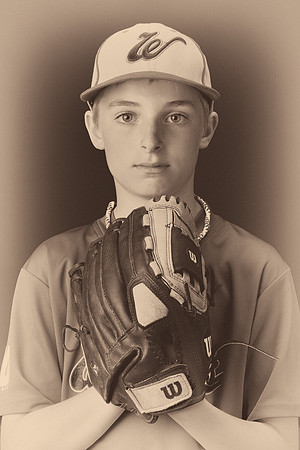
I was pleased with the turnaround time of less than two weeks. Since the issues I was experiencing with my D800 were so sporadic, it will be a while before I know for sure whether the problems are fixed. But, I'm glad to have my camera back! The Antique LookAfter a recent photo shoot, some people asked how I was able to achieve a certain sepia look with some of the images. As a reference point, here is the original image:
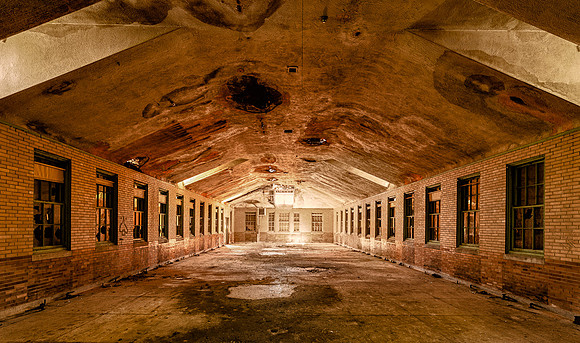
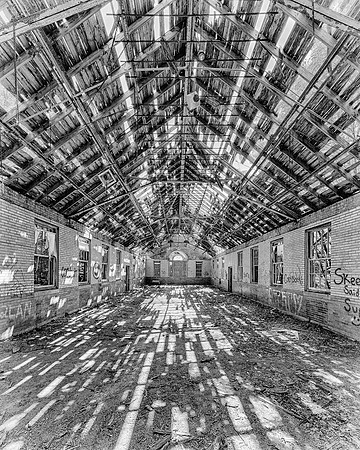
Manteno Insane AsylumOn May 22nd, I captured some photographs from the abandoned Manteno State Hospital. This psychiatric hospital opened in 1930 and was closed in 1983. At one point, it housed nearly 8,200 patients. The hospital became short on staff (approximately 200 people). As the patient to staff ratio became more dramatic, reports of abuse surfaced. In recent years, the vacant hospital buildings have attracted "ghost hunters". Here are a few of my favorite photos from the visit. All of these pictures were captured with the Nikon D800 and Nikon 14-24 2.8 lens:
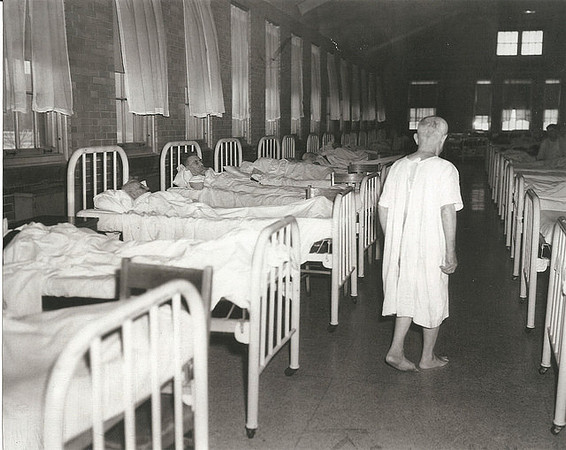
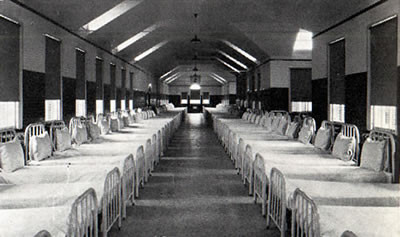
Following are a few photos from the earlier days of the hospital:
Protecting Digital ImagesYears ago, when floppy disks were the norm for digital storage, I lost a lot of data. My computer's hard drive was experiencing issues. The good news (or so I thought at the time), is that I had backed up my data. I inserted the floppy disk which contained all of my back up data--and the disk was defective. Then, I made the mistake of inserting my secondary back up floppy disk--which was also defective. Apparently, the computer was destroying the floppy disks! Now, I had no remaining back ups--and all of my data was permanently lost. It took days to recover or recreate only the most critical files. Fortunately, this was before the time that I became interested in digital photography!
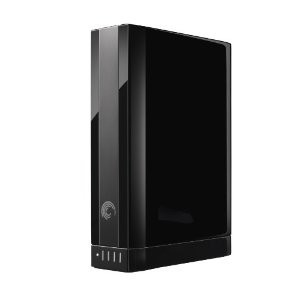
Now, I'm more careful to ensure that my data is protected. First, I store all of my images on an external hard drive--a Seagate 3TB external hard drive. I have a second Seagate 3TB external hard drive positioned next to the primary drive--and that's used for back ups. I use Microsoft SyncToy to synchronize the files between the drives. Unless I am in the process of backing up the data, I leave the second hard drive unplugged to minimize risks such as a power surge or virus attack.
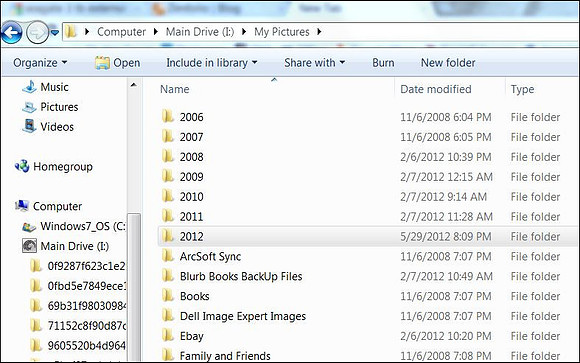
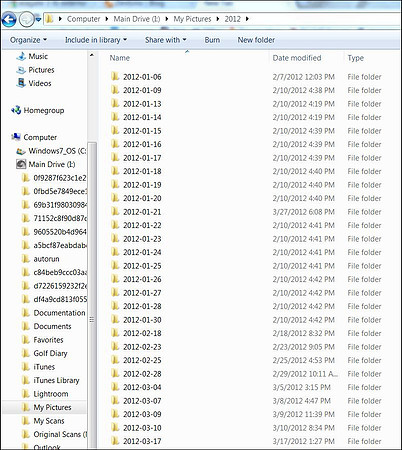
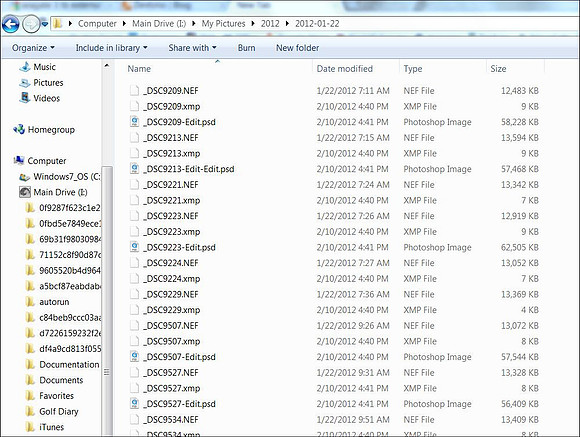
In the unlikely event that all three hard drives fail, I upload many of my jpg files to my website. As a last resort, I can download those jpeg files as needed. Organizing PhotosLike many photographers, I have tens of thousands of digital images stored on hard drives. With so many images, keeping things organized is critical! I use a few simple approaches to make it easy for me to retrieve any of my pictures in minutes (or seconds)! I like to store my images using a basic file structure organized by date. All of my files are stored on external hard drives. They are first placed in a folder titled "My Pictures". Then, there is a folder for each year within the "My Pictures" folder:
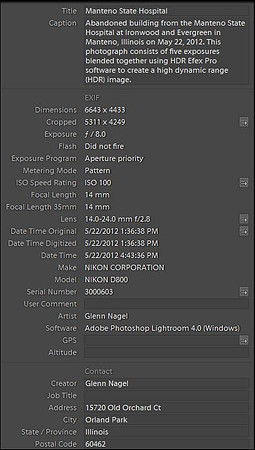
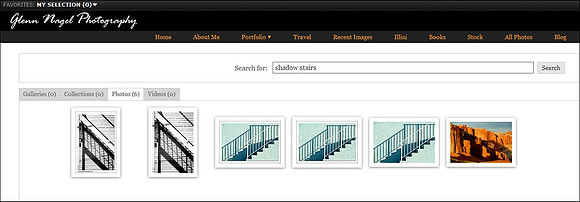
With all of this detailed information included within the file, I can use a search engine (such as Adobe's Lightroom) to quickly locate an image based upon filters. For example, I might view just those photos with the words "Abandoned", "Building" and "Manteno" in the file--and just those images will appear within less than a second. Once I see the image of interest, I note the date of capture and can quickly access the original file using my folders as they are sorted by date. I can also use the search engine on my own website to quickly locate images. For example, let's say that I am interested in viewing something as specific as photos with stairs that cast shadows. By entering "shadow stairs" in the search box, six images appear. Once again, by clicking on the photo, I can view the capture date and quickly access the original file since my files are organized by date:
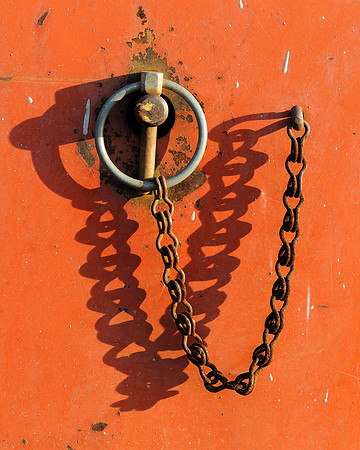
Sometimes the Shadow is the SubjectMany times, photographers hope to minimize shadows within an image. Other times, the shadow is the subject of the photograph!
Nikon D800 Goes to MelvilleUnfortunately, I will be without my Nikon D800 for next couple of weeks. A few days ago, the rear LCD panel failed to display for about ten minutes. I tried removing the battery and powering the camera on and off. But, nothing worked. Then, everything worked properly for no apparent reason. Also, I'm not confident that my D800 isn't experiencing the same issue with the far left auto-focus sensors that so many other D800's have been experiencing. Although a recent firmware update is reported to address the rear LCD problem, I thought it made the most sense to send the D800 into Nikon's Service Center in Melville for a thorough check while the camera is still under warranty. In the meantime, I'll be shooting with my Nikon D700. Hopefully, Nikon will make the repairs quickly and get the camera back to me soon. I already miss it! The Old BallparkI saw the Chicago Cubs play the San Diego Padres yesterday at Wrigley Field. It was a beautiful day for baseball. My Nikon D800 is in Melville for service, so I brought my D700 and 24-70 to the game. With the 24-70 lens, action photos are out of the question! So, I went with the flow and captured a few images of the park from the area near our seats. I thought the B&W conversions were suitable for photos of this old ballpark.
Youth Baseball PortraitsEarlier this weekend, I had the pleasure of shooting portraits of several players from an 11U baseball team that I am coaching this season. I do very little portrait work, so having willing subjects (or at least subjects with willing parents) gave me an opportunity to practice this area of photography. One of the challenges of baseball portraits is dealing with the shadows that are cast by the beak of the cap. Other sports photographers have asked me how I overcome this obstacle. For this portrait session, I approached the lighting like this:
|