|
I'll be posting some random thoughts here about my photography: my travel plans, technical information behind some images, stories about how certain pictures were captured, etc. The timing of the postings will also be random as my priority is capturing new images rather than writing about existing ones. I hope you will feel free to comment on any of my postings and I appreciate you taking time to read my entries.

An Apocalyptic StyleMany photographers hope to find their unique style. I strive to shoot a wide variety of subjects and haven't thought too much about trying to define my own style of photography. Yet, over the past few weeks two viewers have used the word "apocalypse" to define my style of photography. I'm not sure whether to be insulted or flattered! One viewer pointed out that just 2 of the 103 photographs displayed from my last photo trip include people in the frame. Click here to view that set of images. The reason for the lack of people in the frames is that the primary subject matter during this trip was architecture and nature. In fact, it usually requires a great deal of patience to wait for the scene to clear of people while shooting large interior spaces such as churches or capitol buildings. With wildlife, people aren't likely to be in the same frame as a grizzly bear or gray wolf! My intention is to only include people in the frame is they belong there. In the following image of the bronze grizzly bear in front of the Governor's office in the California State Capitol, I wanted to include the guard. Governor Jerry Brown was in his office and I thought that the guard added interest to the scene. In my first exposures of this scene, the guard was trying to be courteous and was standing just outside of the frame. So, I have several photographs of the scene without the guard. Later, when the guard entered the scene, I captured more exposures and selected this one as a keeper.
In this next image of a yellow escalator in the Seattle Central Public Library, I waited until people entered the frame before pressing the shutter. I didn't think the escalator itself was an interesting enough subject to warrant an exposure without the people.
Most Frequently Used LensOften times, I share photographs on internet photography forums. Viewers frequently ask what lenses I use the most. Of course, my choice of lens is dependent upon the subject. During my most recent road trip from Chicago to the Pacific Coast and back, I used 7 lenses to capture the images. You may click here to view some of my favorite photographs from that journey. In the end, I captured 724 photographs from this trip. Following is the distribution of pictures by lens:
Some ask if it is really worth the bother of bringing the massive Nikon 500 VR along on a trip like this for just 18 photographs. Or, if it's really worth the hassle of having the carrying the highly specialized Nikon 200 f4 Macro lens to create only 29 pictures. In my opinion, it's well worth the effort. Some of my favorite images were created with these two lenses. For example, the "Wolf Eyes" photograph is one of my top three favorite images from the trip. It would not have been possible to capture this photograph without the long reach of the Nikon 500 VR:
A Very Tiny Redwood Tree!While visiting the Chicago Botanic Garden, I photographed a Dawn Redwood bonsai tree. Unlike the massive Sequoias of California, this redwood tree stands at just two feet tall! To photograph this tiny redwood, I selected my Nikon 70-200 VR2 lens. The zoom lens provided flexibility to frame the tree quickly and precisely. To maximize image quality, I set the Nikon D800 camera to the base ISO setting of 100. I went with a f/11 aperture to get the entire tree in focus. The resulting shutter speed was 1/25th of a second. Since this is a stationary subject and the shutter speed was relatively slow, I secured the camera/lens to a tripod, locked the mirror up and pressed a cable release to ensure maximum sharpness. Here was the initial photograph:
I thought the image could be improved during post processing if I did something about the chipped plexiglass backdrop. So, I selected the backdrop color in Photoshop and painted over it with a light blue brush. Then, I applied a gradient to the backdrop. Finally, I removed the pot from the frame. My goal during post processing was to make the redwood tree appear as though it was outside with a clear, blue sky in the background.
The Battle of the Pipe OrgansDuring my recent road trip, hazy conditions prompted me to capture more photographs of interiors--particularly churches and capitol buildings. Pipe organs became one of my favorite subjects of the trip. I was very impressed by the first pipe organ that I saw at the St. John's Cathedral in Boise, Idaho:
Then, there was the pipe organ in the Cathedral of the Madeleine Roman Catholic Church in Salt Lake City, Utah:
Life is Easier with 32GB of RAMAbout two years ago, I purchased a Lenovo Think Pad W520 laptop computer. I've been pleased with the purchase. However, since the purchase I upgraded my camera to the Nikon D800. The D800 generates huge files. My computer's performance started slowing down in recent months. This occurred especially when running Photoshop plug-ins that work with multiple D800 files at once--such as blending files for HDR images or merging files for panoramic photos. I also tend to keep multiple programs open at once. I like to check emails or browse the web while the Photoshop jobs are processing. One of the reasons I selected the laptop is that it's capable of running as much as 32GB of RAM. Before upgrading, I was only using two of the memory slots and each slot had 4GB of RAM. After the upgrade, I am now using all four memory slots with 8GB of RAM in each slot--effectively quadrupling the RAM! I know very little about computer hardware. Yet, the procedures to replace and add memory to the laptop were relatively simple for me to perform. First, I visited the Crucial.com website and ran the Crucial System Scanner Tool. The tool diagnoses the memory currently in the computer and outlines alternatives for upgrading. When I first ran the tool, the report indicated that I was using two memory slots with 4GB in each slot. It then presented several upgrade alternatives, including adding 4GB to the two remaining slots, or adding 8GB to the two remaining slots, or replacing the existing memory and going with 8GB in all four slots for the maximum memory. I elected to go with the maximum. Here's how the report looks after I maximized the memory:
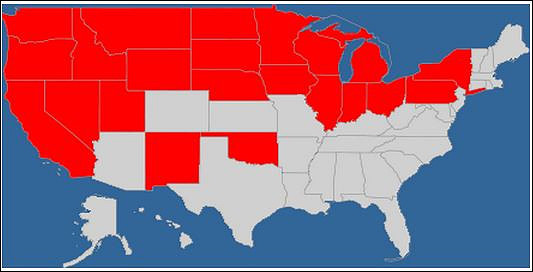
In the end, I acquired 32GB of RAM for $240 and less than five minutes of my time. Now, post processing pictures is far more efficient and enjoyable. And, I can run other programs at the same time. Now, I can even listen to music from iTunes while I work! 22 Down, 28 To Go!During my last road trip from Chicago to Seattle and back, I visited 9 state capitols, including South Dakota, Idaho, Washington, Oregon, California, Nevada, Utah, Nebraska and Iowa. Just a few weeks prior to this trip, I visited the state capitols in New York, Pennsylvania and Ohio. Late last year, I visited the state capitols in New Mexico and Oklahoma. Just prior to that, while driving to Yellowstone, I visited the buildings in Wyoming, Montana and North Dakota. Over this past Winter, I took day trips to the state capitols in Michigan, Wisconsin and Indiana. I visited the capitol building in my home state of Illinois a couple of years ago. A few years ago, I visited the Minnesota state capitol. Although that capitol is included in my total count of 21, I'll need to revisit that building. Back then, I didn't have my approach refined yet, and the only decent shot I have of the Minnesota building is of its exterior. That's a lot of capitol buildings! 22 down, 28 to go! During this upcoming Winter, I plan to take short trips to Kentucky and Tennessee. Also, a trip to the Northwest would enable me to visit several state capitols in a reasonably short amount of time. After all, I have visited many of the more remote buildings--the ones that are spread hundreds of miles apart from each other.
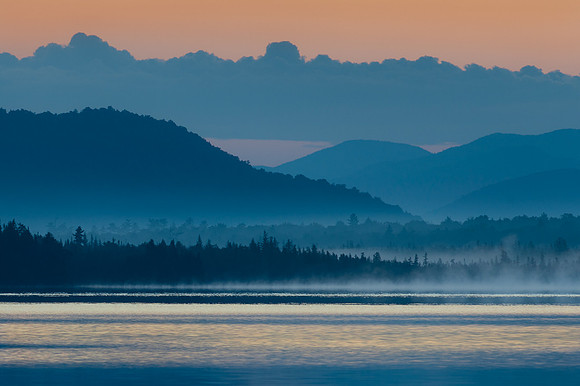
Bring it All!When taking a photography trip, I almost always bring all of my equipment with me. You never know what you will see. However, during my recent trip to a photography workshop in the Adirondack Mountains (led by Steve Gettle), I decided to leave my 500mm lens at home. The workshop centered around macro (closeup) photography. And, although I also stopped at Niagara Falls, I didn't see much of a need for the long telephoto lens. During the first morning of the workshop, I came across this scene:
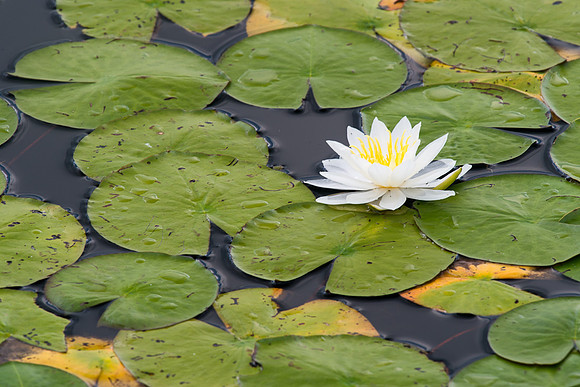
Later, we came across this waterlily. The vantage point was from a road above the scene and a super-telephoto ended up being the right tool for capturing this image. Fortunately, Steve Gettle let me borrow his 600mm lens so that I could take this picture:
Bang for the Buck!In recent years, I am fortunate to have traveled to many interesting locations. Most recently, I returned from a long road trip from Chicago to the Olympic Peninsula just west of Seattle, Washington and back. This trip covered 7,500 miles, 14 states and 27 days. During the trip, I visited several National Parks and Monuments and photographed 9 state capitol buildings. I know that my travels are very economical. But, I was curious about exactly how much it would cost for such an extensive journey, so I purchased a travel expenditure tracking app called "Travel Budget" for my iPhone. Each time I made an expenditure, I took a few seconds to enter the amount on my phone. After tracking every dollar of spending, I was pleasantly surprised at how reasonable the cost is for such a trip. All said and done, the nearly month-long trip cost less than $1,000: Gas and Oil Changes The Prius does quite well with gas mileage. Even with gas prices hovering around $4 per gallon for much of the trip, the total cost for gas and oil was $596 to cover 7,500 miles. Lodging Lodging for 27 nights totaled $257. My "Prius camping" approach makes staying at locations very convenient and economical. I've posted blog entries in the past about Prius camping and plan to share more of the things that I've learned about Prius camping in future blog entries. Entertainment Entertainment costs totaled $84. That doesn't sound like much, but it included admission fees to the following attractions:
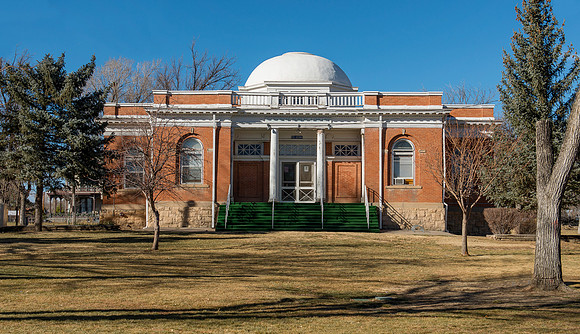
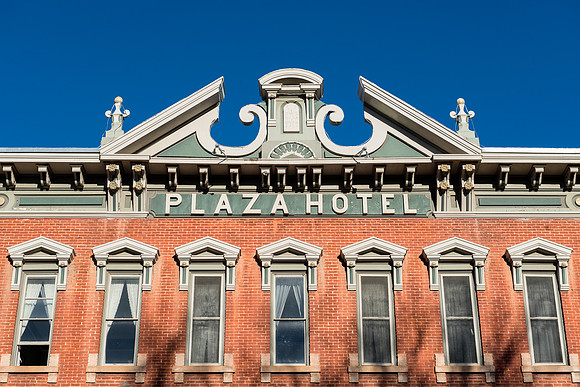
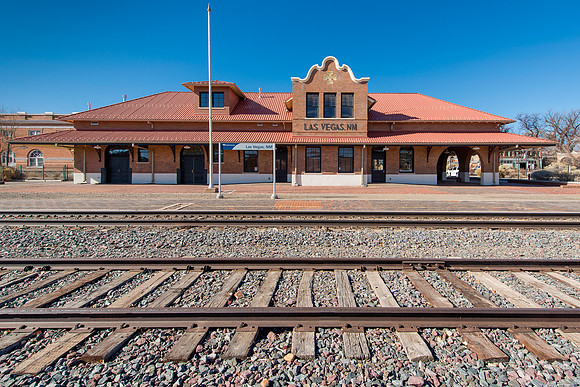
Entertainment costs were partially offset by $25 in winnings at the Black Jack table in Wendover, Nevada! Ice The cost of ice came to $16 for the trip. TOTAL COST: $953, or $35 per day I am often asked why food costs are not included in the total. My reasoning for not including the cost of food in my travel budget is that I would incur the same food costs if I had remained at home. There is no incremental cost of food as a result of a trip like this. But, for those who are curious, the total cost of food for this trip was $460. The bottom line is that a long journey like this doesn't need to cost an arm and a leg. Over the course of the 27 days, I experienced many things and captured thousands of photographs. $1,000 seems like a small price to pay for such an experience! The Other Las VegasDuring one of my recent photography trips, I spent the better part of a day in Las Vegas. Las Vegas, New Mexico that is! Surprisingly, the Las Vegas in New Mexico originated decades before the one in Nevada. And, one of the appealing things about Las Vegas, New Mexico is its architecture. The city of 14,000 residents lists over 900 buildings on the National Register of Historic Places. Here are a few images from my visit:
As I went into the train station to consider photo possibilities for some interior shots, I came across a man waiting for a train. He explained that he had come across hard times, lost his car and that he needed to travel across the state to land a job at a resort working in a kitchen. His problem was that he could save a significant sum of money by purchasing his ticket in advance. However, this required the use of a credit card--which he didn't have. Given that he didn't have a credit card, his only option was to pay by cash on the train with the resulting cost being nearly double that of the advance ticket. At first, I was hesitant to try to help him because the whole thing felt like some sort of a scam. Why would a business charge someone nearly double to pay by cash rather than credit? But, after talking to him for several minutes, I decided to take a chance and purchase his train ticket on my credit card. After all, he was offering to reimburse me on the spot with cash. Then, it dawned on me that my wallet was in my car which was parked nearly a mile away. So, I told the man that I would go back to my car, drive back to the station and then purchase the advance ticket with my credit card. Later, I purchased the ticket, he handed me the cash and I was on my way. In the end, it wasn't a scam...and he was very grateful to save $50 on the ticket.
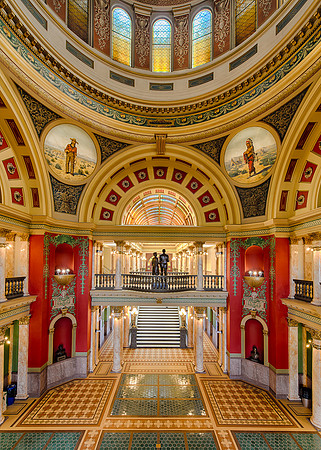
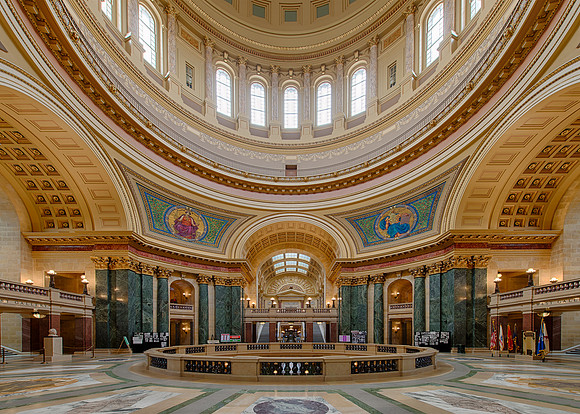
A Capitol TipOver the past year, I've photographed eleven state capitol buildings (in this order): Wyoming, Montana, North Dakota, New Mexico, Oklahoma, Michigan, Wisconsin, Indiana, New York, Pennsylvania and Ohio. As my experience grows, I become more efficient at getting better images. I'm often asked how I am able to capture photographs of large interior spaces with nobody in the frame.
This method also served me well when I photographed Chicago's City Hall during the Architectural Open House last October. There were at least 75 people in the corridor until a tour started...then they all temporarily left to follow the tour guide as she took them to the second floor.
|