|
I'll be posting some random thoughts here about my photography: my travel plans, technical information behind some images, stories about how certain pictures were captured, etc. The timing of the postings will also be random as my priority is capturing new images rather than writing about existing ones. I hope you will feel free to comment on any of my postings and I appreciate you taking time to read my entries.

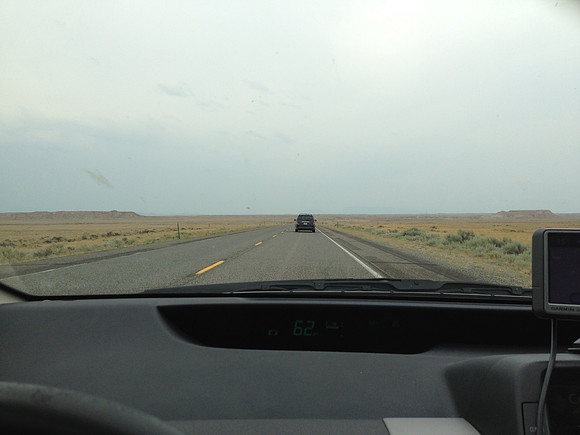
Conditions Drive the Subject MatterInitially, my plan was to spend most of the trip in Seattle, Olympic National Park, the Oregon Coast and Crater Lake. Since this was a long driving trip from Chicago, I also planned break up the drive by stopping at some locations (Yellowstone, state capitols, etc.) along the way. Once I reached the western states, I was fighting white, hazy skies for the vast majority of the days:
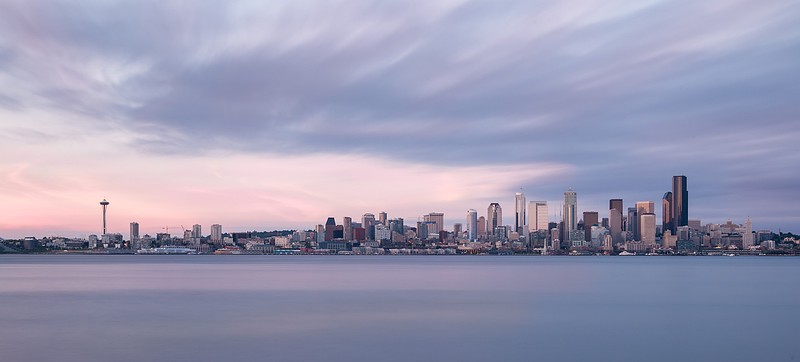
SEATTLE Unfortunately, conditions were not very good for photography when I finally reached the Pacific Northwest. While in Seattle for three days, I never saw Mount Rainier. Each morning I was positioned at an overlook that I previously scouted for a sunrise--only to walk away with no images due to thick fog. I experienced the same thing for most sunsets. After I left Seattle for Olympia (about 65 miles south), the Weather Channel on my iPhone indicated that the weather was finally clearing for the day in Seattle--so I drove back to Seattle and finally captured some nice cityscapes from Alki Beach.
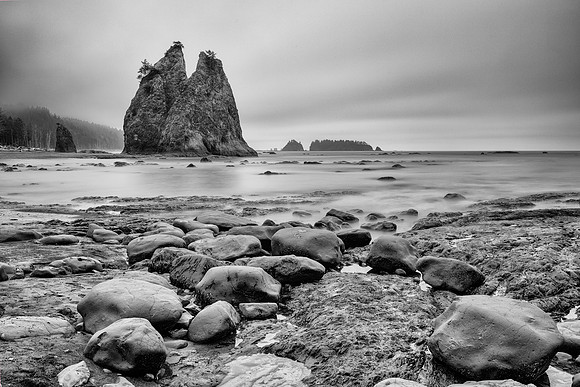
OLYMPIC NATIONAL PARK It was a long trip, so I was optimistic that things would improve. I had three days planned for Olympic National Park. On the first day, I visited Hurricane Ridge, but the haze was so thick I couldn't see the mountain range. Once again, no images. The next day I planned to photograph the Sol Duc waterfalls and then one of the primitive beaches on the Pacific Coast. I was thinking how the diffused light of a hazy sky would be a good thing for the pictures of the waterfalls, but that morning there wasn't a cloud in the sky and the direct light and high contrast made it difficult to capture good images of the waterfalls and surrounding old growth forest. It was the worst of both worlds--thick fog along the coast all day...but, hard light with high contrast in the inland forests! One of the rangers told me that the forecast was for fog on the coast for the next three or four days. I replied that some fog could be a good thing for sunrises and sunsets. Diffused light is generally much better than a clear sky for the colors. He smiled and said that this isn't that kind of fog. This is the kind of fog where you can't see the water! And, he was right. Over the next couple of days of mostly unproductive sunrise and sunset attempts, I did capture a few images at Rialto Beach when the fog temporarily lifted enough that I could see the water and the nearby seastacks...but that was about it. It was time to move south to the Oregon Coast!
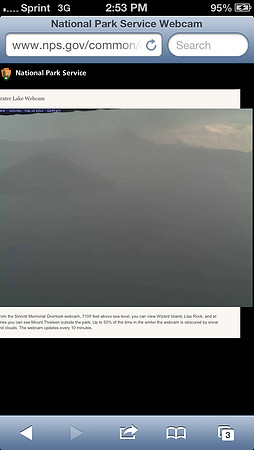
OREGON COAST Let's just say that the conditions along the Oregon Coast weren't much better than in Washington. So, I cut that portion of the trip short and drove inland to Salem to photograph the state capitol. The next morning I met my aunt and uncle for breakfast in Eugene. When they asked me where I was headed next, I told them that I didn't know! Initially, I hoped to spend two nights at Crater Lake. But, reports indicated that the smoke was so thick at Crater Lake that visitors couldn't see the lake! I checked the Crater Lake webcam on my phone later that afternoon and saw this:
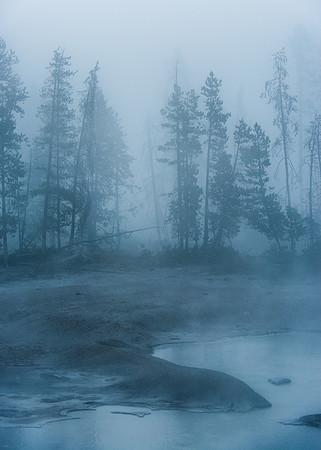
MAKING ADJUSTMENTS When I planned this trip, I envisioned capturing several great landscape images of the amazing beaches along the Washington and Oregon Coast. I scouted four impressive overlooks for cityscapes of Seattle. I expected to come away with excellent images of the lush rain forest at Olympic National Park. In the end, I captured very few of the photographs that I set out for when I left Chicago. But, by no means was this trip a bust. I immediately began to seek out subject matter that was more suitable for the conditions. Here are a few of the adjustments that I made along the way. While in Yellowstone, I tried to use the fog to my advantage.
Silverback SpiritsI'm pleased to announce that Silverback Spirits, LLC has purchased exclusive rights to my Silverback Gorilla photograph. This image is expected to appear on the labels of its vodka bottles as well as other promotional items:
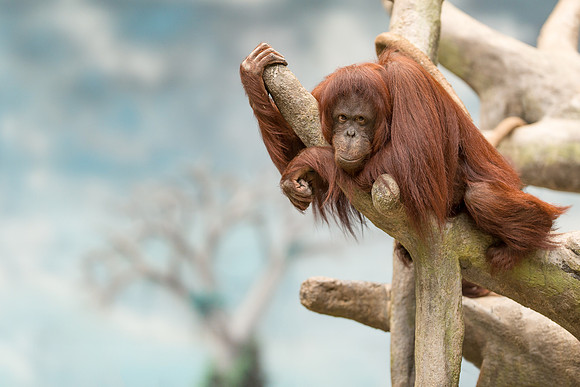
Isolating a SubjectWhen taking pictures of animals in captivity, I tend to select a very wide aperture. Wide apertures, or lower f/stop numbers, narrow the depth of field of the area within the frame that is in sharp focus. Since viewers will tend to look first at the sharpest element in the frame, this technique will literally focus the viewer's attention on the subject. Often times, subjects are positioned in front of busy and distracting backgrounds. A narrow depth of field helps eliminate distracting backgrounds by blurring them. Some photographers refer to the super-telephoto lenses with very wide apertures as "background erasers"! Wide apertures also allow more light to enter the lens--which results in faster shutter speeds to achieve the desired exposure. Fast shutter speeds increase the chance of getting sharp photographs, especially when the subject is an animal that is moving. While visiting the Brookfield Zoo, I used a wide aperture to isolate this orangutan in the Tropic World exhibit.
I captured this photograph of a snow leopard cub earlier this week at f/2.8 with a 300mm lens:
NOPRecently, I posted a blog entry about my most recent Prius camping experiences. During this last trip, Walmart stores often provided a convenient place to stop for the night after a long drive. Many Walmart locations are easy to access from the interstate. The Supercenters are usually open 24 hours and offer a secure place to park alongside several other recreational vehicles and trucks. The parking spaces are flat and clean. And, supplies are readily available just inside the store. It all seemed almost too good to be true.
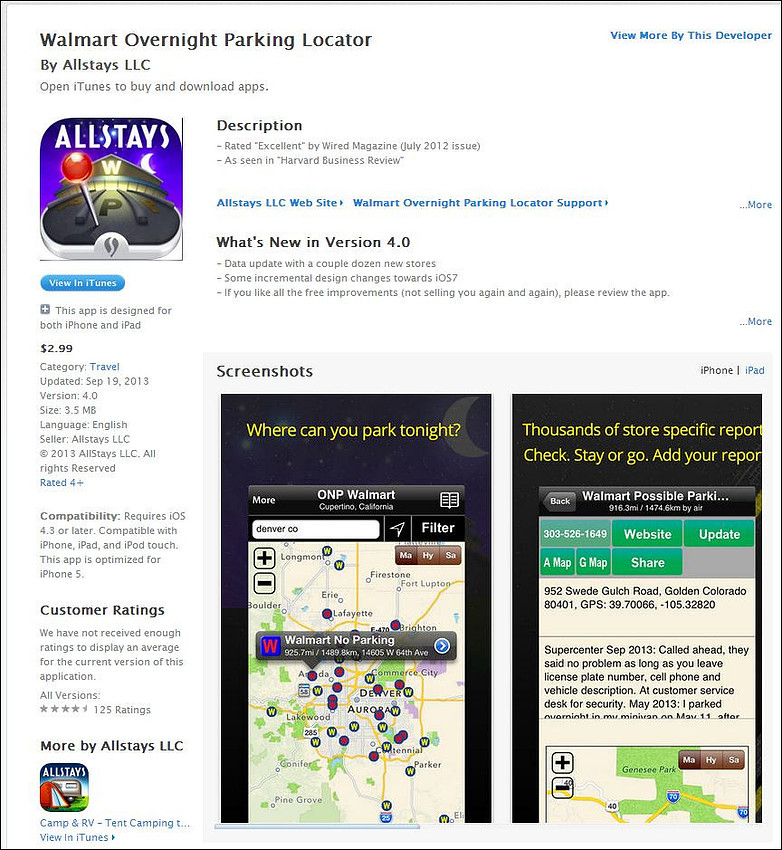
Then, like so many other RVers, I became familiar with the acronym... N O P Or, No Overnight Parking! I first discovered NOP at a Walmart location just outside of Portland, Oregon. I was nearing the end of a long drive and had not made any plans for the night. So, I pulled up the closest Walmart Supercenter on my GPS unit and found one that was located about 30 miles away. When I finally pulled into the parking lot, I noticed that there weren't any RV's in the parking lot. I also noticed the NOP (No Overnight Parking) signs on nearly every light post. Apparently, NOP is becoming more common at Walmarts throughout the country. One reason is that local ordinances are passed that prohibit the practice so that local campgrounds might benefit. Smaller towns want to encourage RVers to pay $50 or $60 a night to pull into a campground rather than let them park for free at Walmart. Another reason is that some campers abuse the privilege. They take up too much space, make too much noise and leave a mess. Unfortunately, I had to move on until I found a Walmart that permitted camping. That experience led me to discover a tool to combat NOP. It turns out that there is an app called the "Walmart Overnight Parking Locator." This app maps out all of the Walmarts near a location and indicates whether overnight parking is permitted or not. The user can also review notes from campers who have recently stayed at various locations. In fact, based upon my camping experiences during this trip, I contributed reports about some Walmart locations which now appear in the app. I found this app to be an invaluable resource whenever a Walmart location was a convenient resting point along my long journey.
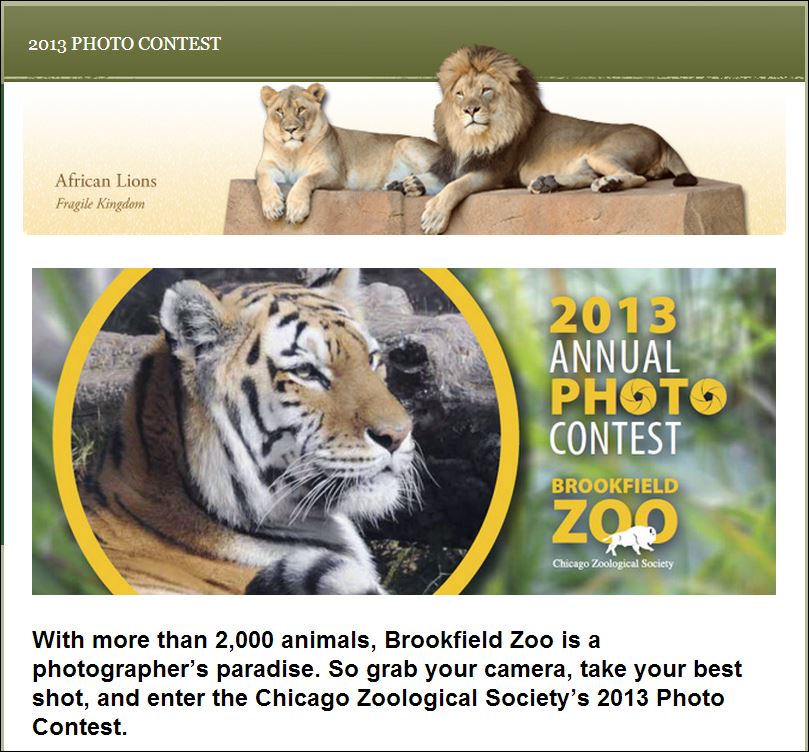
One encouraging note is that the New York Times recently (September 27, 2013) published an article about camping at Walmart titled "Paradise, Paved". Maybe a Baby?For the fifth consecutive year, I'm entering the annual Brookfield Zoo Photo Contest!
Despite capturing thousands of photographs at the zoo during many visits, I haven't had success in past contests. In part, I'm sure this is because only three photographs are recognized each year. And, I never know what the judges are looking for. This year I'm taking a different approach. Everybody seems to like baby animals, so maybe a baby will win! I captured this photograph of a sloth bear cub this past May.
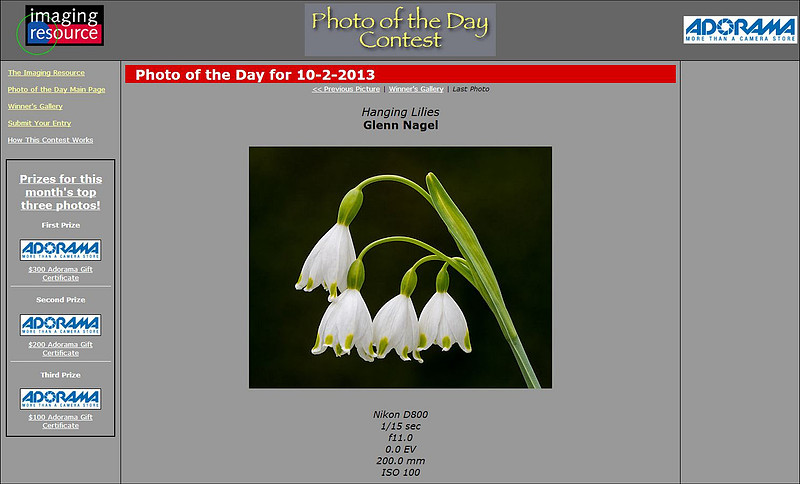
"Hanging Lilies" Wins Photo of the Day!This morning, my "Hanging Lilies" picture won Imaging Resource's "Photo of the Day".
This photograph was captured at the Chicago Botanic Gardens in May, 2013. It was one of the first images captured with my new Nikon 200 f/4 Macro lens.
This marks the eleventh time in the last twelve months that one of my photographs was recognized by Imaging Resource as its "Photo of the Day". Extension TubesDuring a macro photography workshop that I recently attended in the Adirondack Mountains, it became evident that extension tubes are a very useful accessory. When placed between the camera and the lens, extension tubes allow the lens to focus closer to the subject.
I borrowed an extension tube to get a closer perspective of a daisy. Here's the original image without tubes:
However, the Kenko extension tubes do provide the ability to adjust the aperture as well as provide auto-focusing capabilities. Since the tubes are hollow and don't contain any optical elements, I elected to save some money and purchase them through eBay rather than B&H Photo (my usual vendor). Prius Camping UpdateDuring recent photography trips, I find myself camping in my Prius more frequently. In fact, during my most recent road trip from Chicago to the Pacific Coast and back, I camped in my Prius for 27 consecutive nights. Prius camping offers several benefits (most of which I documented in a previous blog entry):
Quite often, I get questions from readers about my Prius camping experiences. Hopefully, this blog article will address some of those questions. Here are a few of the more common ones: WHERE DO YOU PARK? When considering where to park (camp) for the night, I consider two things about the location. Is the location safe? And, is it legal to park in the location? Generally, most public (state and national parks) and private campgrounds meet those requirements. On occasion (when the campgrounds are full), I will park behind a lodge or visitor center inside of a national park. Also, many Walmart stores offer free overnight parking for recreational vehicles. Here's a picture (iPhone) of my Prius camped in Port Angeles, Washington--just north of Hurricane Ridge in Olympic National Park.
I will share more information about my Walmart camping experiences in a blog article in the near future. WHERE DO YOU GET CLEANED UP? Almost all of the campgrounds provide restroom and shower facilities. Obviously, Walmart stores do not. However, public showers are available for a fee inside or near most state and national parks. During this last trip, there were several state parks in Washington and Oregon that provided a shower for just $2.00. DO YOU HAVE ANY PRIVACY? As you can see from the photo that I shared above, sunshades are applied to every window on the Prius to provide privacy and to darken the interior of the cabin. With just a little practice, I can snap all of these shades in place in just a couple of minutes. They attach to the window with suction cups. When I first purchased the sunshades, it never dawned on me that it would also be useful to have one for the hatchback. I added the hatchback one for this last trip and that extra shade blocked a significant amount of annoying overhead lighting.
DO YOU HAVE ENOUGH ROOM? People wonder how there is enough room in the Prius for someone as tall as me (6'3") to sleep comfortably. With nearly 9 feet from the rear of the interior to the dash, there is more than enough room! I can stretch my arms as far as possible over my head and still not reach the front of the car. Here's a view of the interior. Note how I use only the passenger half of the car for sleeping. This makes the process of setting up the car for sleeping very convenient--and less than a five minute process.
HOW DO YOU FLATTEN THE SEATS? I get this question quite often. It's probably easiest to show how this is done through pictures. First, the front seat on the passenger side is moved all the way forward toward the dashboard. Then the front passenger seat is reclined all the way back until it's flat against the rear seat. This requires removing the headrest from the seat. The rear passenger seat is dropped forward until it connects with the top of the front passenger seat. Again, this requires removing the headrest from the rear seat as well.
At this point, the rear passenger seat rests about 18 inches higher than the front passenger seat. So, something must be placed on the front passenger seat to level the sleeping surface. I use two floor throw pillows.
Then, a mattress (I use a Thermarest) and sleeping bag will lay perfectly flat over the length of the interior.
DO YOU USE YOUR PRIUS TENT? In a prior article, I shared some information about my purchase of a customized tent for the Prius. During my last trip, I only used it for 2 of the 27 nights. It was good having it for the two nights I camped at a KOA in Salt Lake City. Those were warm nights--and the tent allowed for a nice breeze to enter the vehicle. Most nights were cool enough that I preferred to close the hatchback rather than use the tent. And, the tent wasn't practical for security reasons when the Prius was parked at Walmarts or other comparable locations. Overall, I find that the Prius offers many benefits to the traveling photographer. After sleeping in the Prius for over 60 nights during the past two years, I would have a hard time buying anything other than a Prius for my next car. OTHER PRIUS CAMPING ACCESSORIES: Some other products that recently came to my attention from Altegra. Click here to visit the Altegra website to view the compact canopies that can make the Prius camping experience even more enjoyable. Third Time's a CharmMany times, photography requires patience. During my last photo trip, I visited the Cathedral of the Madeleine Roman Catholic Church in Salt Lake City, Utah. During my first visit, I was pleased to find that the doors were open that morning. Upon entering, the beauty of the interior of the church was immediately evident. But, I was disappointed that the church was not lit. The church was so dark that I didn't bother taking any photographs. I checked the schedule and learned that a mass would be held that night. So, I returned to the church in hopes of capturing some photographs of an illuminated interior once the mass ended. As I entered the church, a priest met me in the foyer. He told me that I would be permitted to take pictures in the church once the mass was over. He invited me to enter the church and participate in the mass until then. Not being Catholic, it wasn't my intention to sit through a long mass. It was interesting for a while, but an hour passed and there was no end in sight. The program indicated that communion was yet to come. As it turns out, it was an extraordinarily long mass that night in celebration of the 104th anniversary of the church. I didn't want to miss that night's sunset as I only had two nights to spend in Salt Lake City. So, I reluctantly decided to give up on the photo shoot of the church. As I was leaving, the same priest met me once again in the lobby. I explained that I needed to leave for the night. I asked if it might be possible to return the next day for the photo shoot. The priest told me that nothing was scheduled at the church for the next day. But, he kindly offered to meet me at the church the next morning. He said he would open the doors and turn on all the lights. We agreed to meet at 10:00 am. The next morning I arrived at the church at 9:45 am. The doors were open, but the interior was dark and there was no sign of the priest. I started shooting some photographs of the staircase to the bell tower. At 9:55 am, there was still no sign of the priest. I walked around the outside of the church for few minutes and reentered at 10:05 am. It was an amazing sight! The church was fully lit and organ music was being piped in. I had the church to myself for two hours--and I never did see the priest! Here are a few photographs from the session:
Cheating DeathDuring trip last summer, I stopped by Sacramento to photograph the California State Capitol. During my short visit, I noticed that Sacramento offers an abundance of interesting architectural subjects. Unfortunately, I had just one afternoon in the city. I photographed the Capitol, and then had to settle for capturing images of some downtown office buildings and a nearby bridge. From the Capitol, I couldn't help but notice a golden bridge shining in the distance. It was the Tower Bridge--a vertical lift bridge constructed in 1935 to cross the Sacramento River. The bridge made for an interesting subject, but getting a good perspective was challenging. A traffic light and signs were located directly in front of the bridge and the downtown traffic was constantly passing under the bridge. I decided to go with an ultra-wide angle lens (the Nikon 14-24) so that I could get situated almost directly under the bridge. This position took the traffic lights and signage out of play. The downtown traffic was another issue. That simply required patience. After fifteen or twenty minutes, there would be lulls in the traffic--especially when the traffic light behind me turned red. My approach was to preset the camera for exposure and approximate focus. When there was a lull in traffic, I would run to the middle of the road, set down my tripod, and quickly snap five or six frames and then run back to the curb. I would repeat this process four or five times until I had two or three acceptable frames. There was an artist sitting along the sidewalk by the bridge. He was drawing the bridge and watching me make these runs. After my second run, he yelled to me, "Cheating death again?" Apparently, he felt that the act of running into the middle of the street and back in downtown traffic was more dangerous than I did! Here is one of the images from the photo shoot:
|